How to Install Cable Railing
Installing Cable Railing
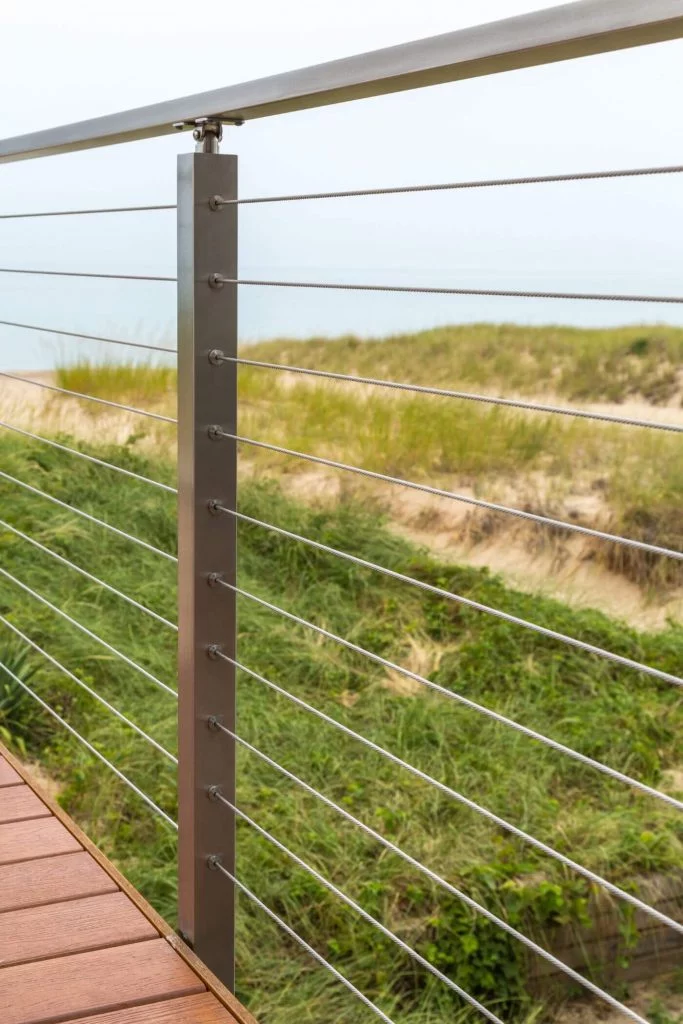
To install cable railing, secure your posts at the proper spacing. Then, run your cable from the end posts, through the intermediate posts, and to the terminal end post. Next, hand tension the cable to minimize deflection. Repeat these steps for each line of cable. Finally, tighten each cable with an allen wrench until it is taut. Always start your tensioning with the middle run of infill and work outward, alternating between the top and bottom, until you have tensioned all the runs.
The 4 inch Sphere Rule is a common building & cable railing code standard. It simply states that a ball with a diameter of 4 inches should not fit between lines of cable. For this reason, we recommend a cable spacing of no more than 3 ⅛ inches.
Post spacing plays a crucial role in how much the cables will deflect as well as handrail strength. For this reason, we recommend using posts at most four feet apart.
Read more
Express Cable Railing System
Express is a simple DIY cable railing system designed for the DIYer or contractor. Express is ideal when you are working on a small to medium size project. It keeps the installation simple and the budget on track, but still makes the neighbors say “wow!” Best of all, it is on the shelf and ready to ship the very next day.
Get a Start On Your DIY Railing Project with the Steps below!
- Step 4 – Cable Tensioning – Level End kit To Corner End kit
- Step 5 – Cable Tensioning – Angle End kit To Angle End kit
- Step 6 – How To Maintain a Powder Coated Cable Railing System
Express Install Documents
Express Install Videos
Viewrail Cable Railing System
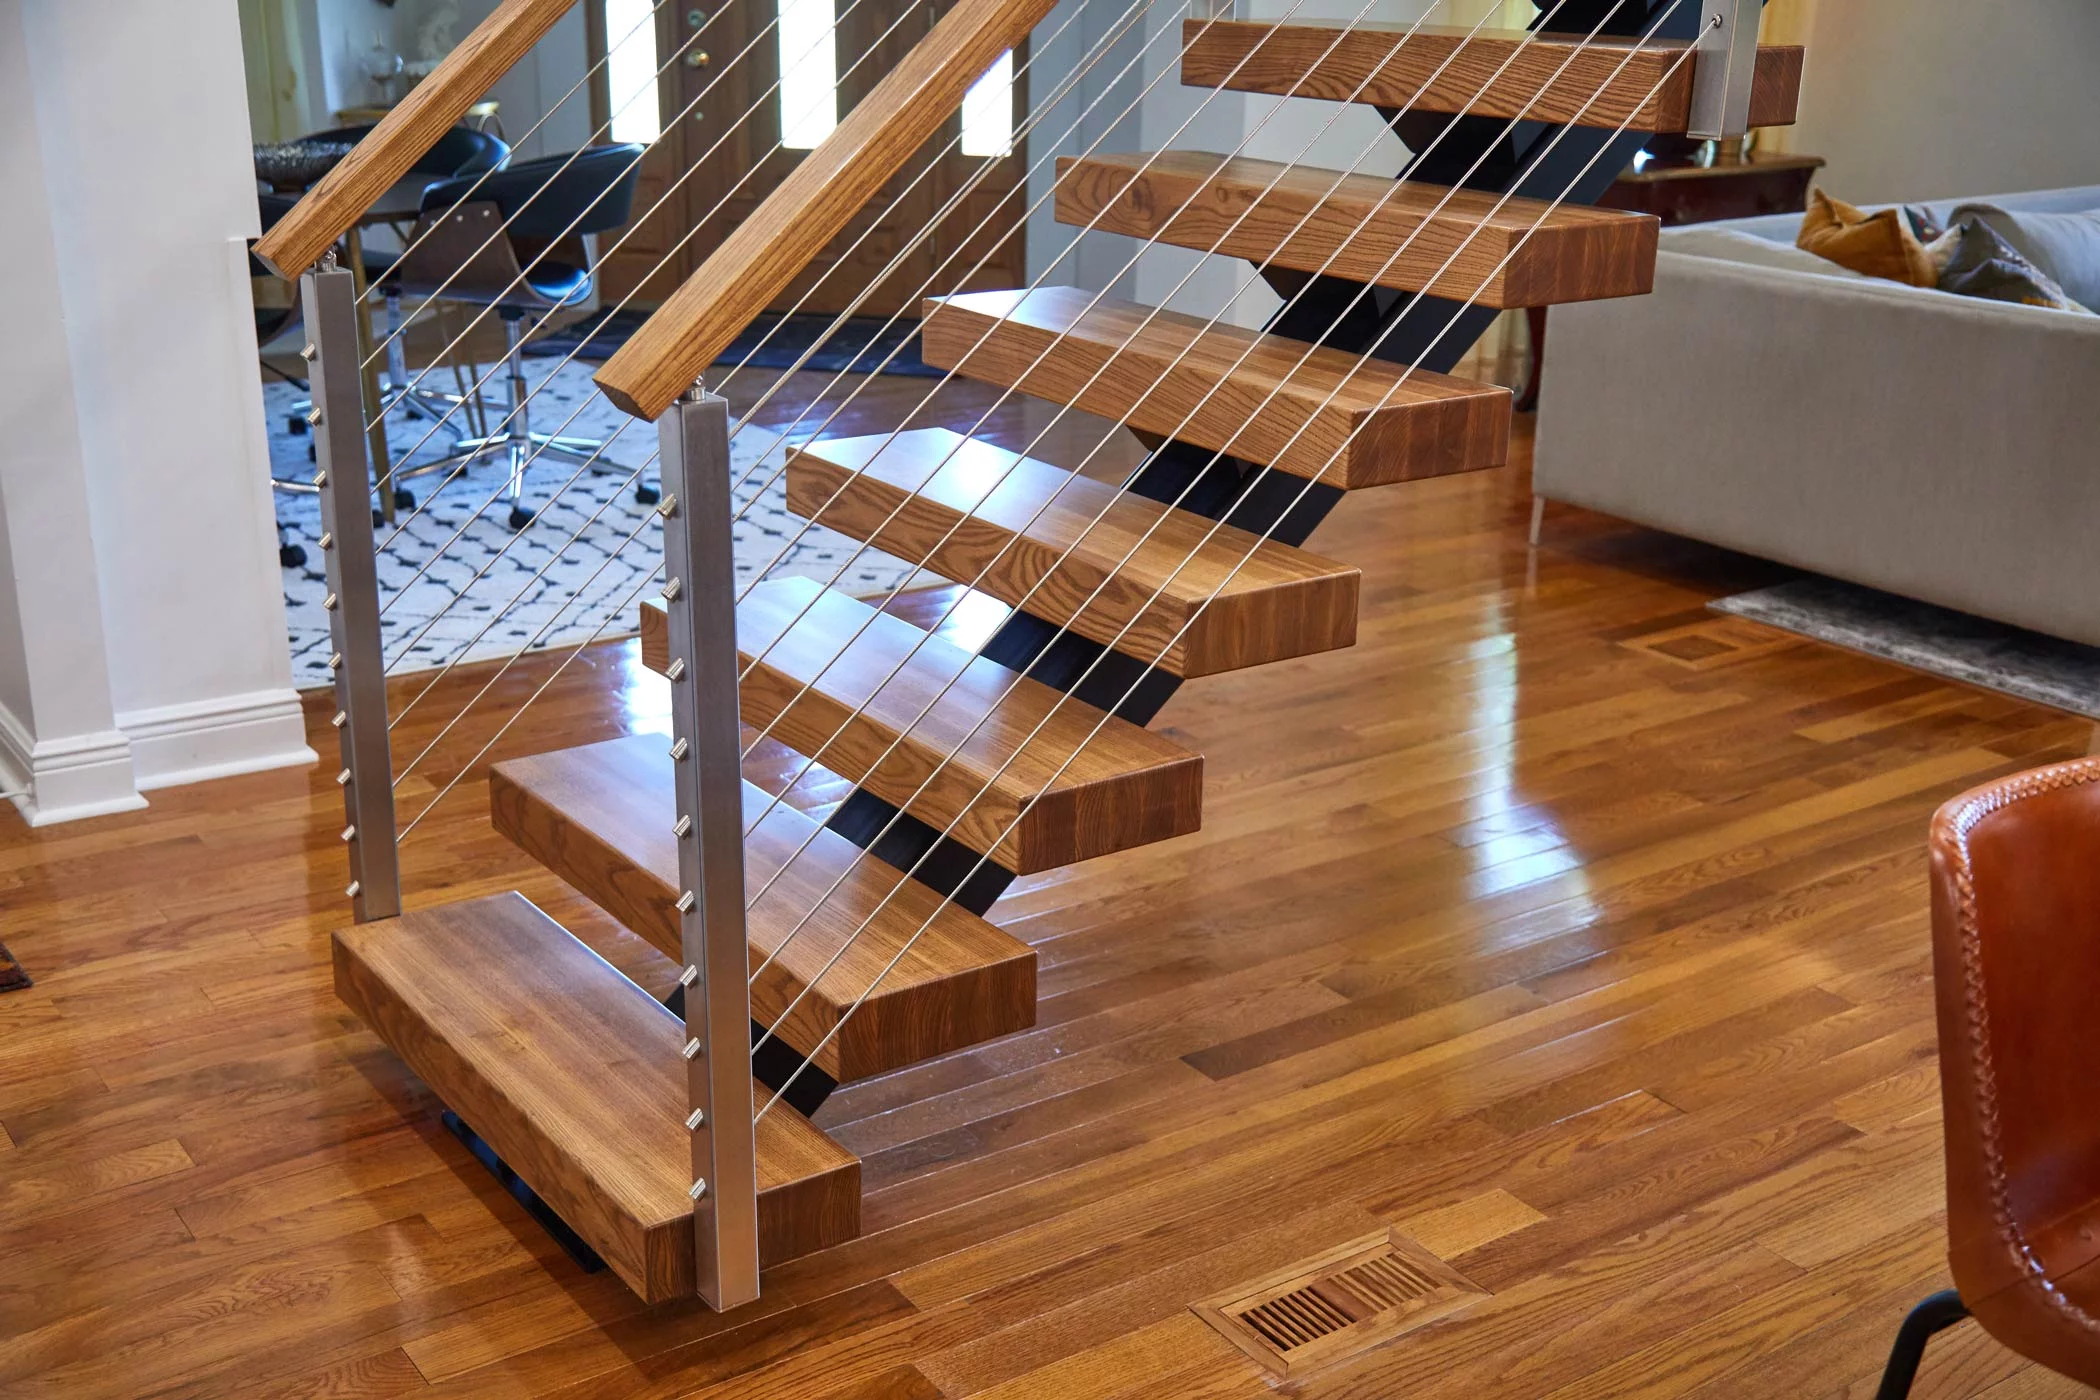
Our Viewrail cable railing post system is our flagship product. Highly customizable, this series is ideally created for your unique project. We’ve engineered this line to be as streamlined and simple as possible. For example, turn a corner or transition upstairs using only one post. This is a standout option within the cable railing industry. Finally, our hidden components keep your view of the cable system as minimal as possible while maximizing your view of the horizon.
Viewrail Cable Railing Install Documents
Surface Mount Level Post Installation
Surface Mount Angled Post Installation
Core Drill Post
Universal Top Metal Handrail
Flat Top Metal Handrail
Postside Handrail Bracket
Metal Post Installation
Viewrail Cable Railing Install Videos
DriveTite Cable Railing System
Do you want to fasten a sleek DIY wood cable railing system to your existing posts? Look no further than DriveTite. Simple to use, these kits come in Level and Angle options for wood. Pair them with cable and our install kit, and that’s all you need to tension cable to your wood posts without replacing them. DriveTite hides the cable wire and components inside the cylindrical covers, for the cleanest possible look. Easy to install, it mounts to the surface of your posts. This is our simplest cable system to install, and requires little to no technical installation skill. Bring the simplicity of cable railing to your wooden post system with DriveTite.
DriveTite Install Documents
DriveTite Videos
Other Cable Installation Information
Tools Needed to Install Cable Railing
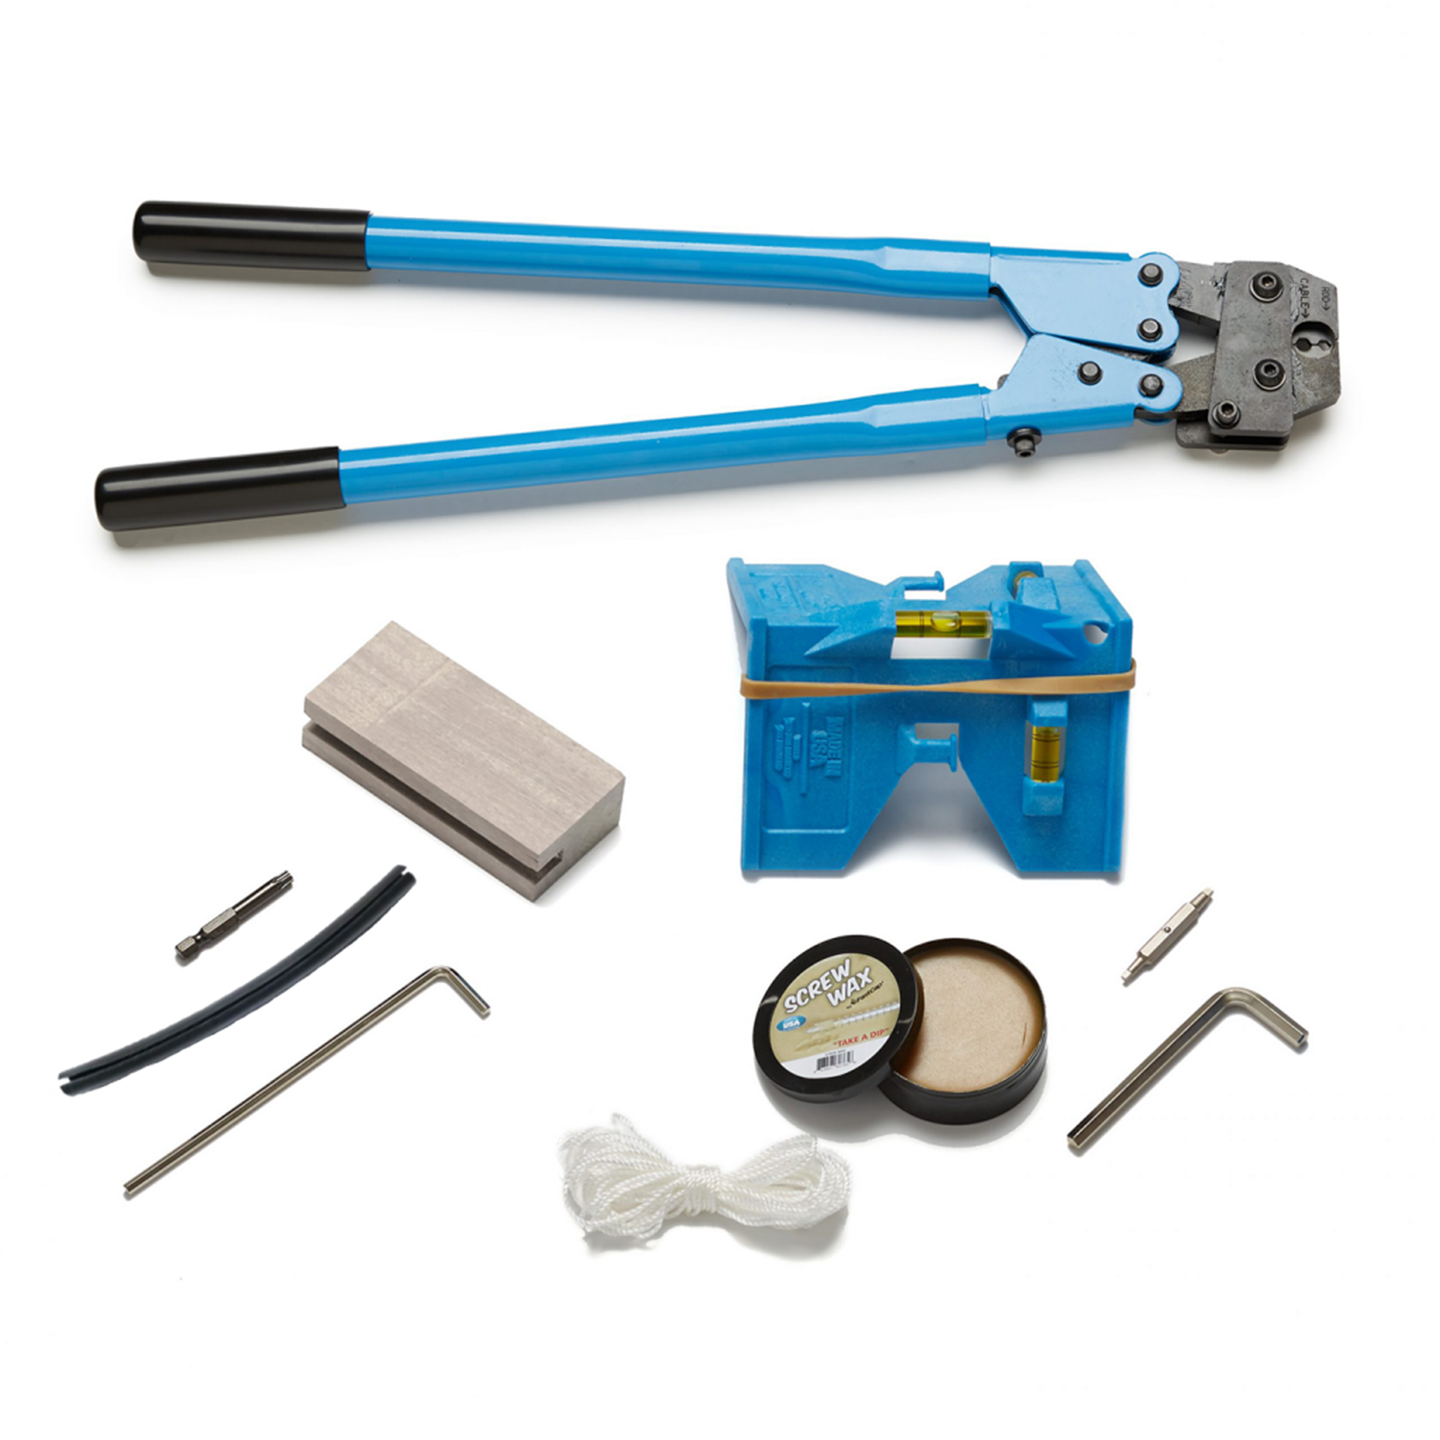
Installation requires some basic hand tools like a power drill and an impact driver. You will also need some specialized tools for cutting and crimping your fitting onto the cable. In addition, you will use special fittings to tension the cable and to give intermediate posts a finished look.
The process will be similar whether you’re installing cable railing on decks, stairs, or balconies.
At Viewrail, we sell a complete Cable Rail Installation Kit that has all the specialized tools you need to easily complete any cable railing project. The kit includes a cable cutter and cable crimper specifically designed to work with our cable railing systems. It also has other tools for tensioning, inserts, etc.
We also sell component kits that contain all the fittings you need to install cable railing with both wood and metal posts.
How To Take Care Of Indoor Cable Railing
Caring for your indoor cable railing system is similar to caring for the outdoor system. Be sure to regularly inspect and clean the outside of each post and infill. The biggest difference is that you shouldn’t need to clear out as much debris in your interior railing system as you do with an exterior railing system.
To begin, polish your stainless steel rods, cables, handrails, and posts with the included Stainless Steel cleaning wipes. Next, clean your posts and handrail with an all-purpose cleaner and distilled water. While it may be convenient to use tap water, the minerals can leave streaks or spots. This is true regardless of the material — whether powder coated aluminum or brushed stainless steel. If your handrail is made from wood, clean it with your favorite wood furniture cleaner. Finally, if you have wooden handrails, check the finish and reseal them as needed.
How To Take Care Outdoor Cable Railing
How should I care for my outdoor rod and cable railing?
You will want to inspect and clean the exterior of each post and line of infill about 3-4 times per year. Clean debris from the handrail brackets and post mounting area, lifting the foot cover if necessary. Inspect and retighten the handrail mounting screws, if needed.
Periodically check your cable or rods to make sure adequate tension is created. If the infill feels loose and moves more than 1” in either direction, you should re-tension them.

Using your allen wrench in one hand and a thick glove in the other, hold the infill and turn the allen wrench clockwise into the tension receiver on the end of the posts. Always start your tensioning with the middle run of infill and work outward, alternating between the top and bottom, until you have tensioned all the runs. Once a year, treat the surface of your post and infill with Marine 31 Sealant and Marine 31 Polish to seal, protect, and polish your system. If your system is on the coast, use the sealant and polish twice a year. This will ensure that your system stays protected against the elements.
Finally, if you have wooden handrails, check the finish and reseal as needed. You’ll know when you need to reapply finish and/or sealer if that finish is starting to visibly fade. You do not want to wait until the finish starts to crack to reapply.
How Much Cable Do I Need For My Railing?
No cable railing project is complete without the stainless steel cable ! Here’s how we like to figure out how much you’ll need. For each cable run you’ll need, take of the run, add one foot and multiply times the number of cables. Then you’ll add each of the runs together to get the total amount of cable needed.
If your project has the following measurements, you can figure out the amount of cable you’ll need like this: Cable Run #1 — 12ft. + 1ft. = 13ft. x 10 cables = 130ft. Cable Run #2 — 18ft. + 1ft. = 19ft. x 10 cables = 190ft. Cable Run #3 — 8ft. + 1 ft. = 9ft. x 10 cables = 90ft. Total Cable Needed = 410ft.Our 5/32 inch stainless steel cable is sold on 400 foot spools, and 100 foot spools. We normally suggest that you round up to be on the safe side (unopened spools of cable can be returned).
Make a Plan of Your Deck or Staircase
Every successful DIY cable railing installation starts with a sketch. You’ll want to make a rough sketch of your deck, balcony or stairway, complete with measurements. You will also want to know the handrail height. The info on this sketch will help you figure out exactly what you need to purchase and reduce any confusion about how the system comes together. Additionally, taking pictures of the space will help both you and the designer at Viewrail verify the necessary products for your project.
About Modern Cable Railing
In recent years, cable railing has become synonymous with modern designs and elegant solutions for a wide variety of railing needs. At Viewrail, we continue to innovate products that will satisfy the creativity of our clients, while maintaining system strength and ease of installation. One of our standout examples is our Express DIY cable railing system!
 At Viewrail, we sell a complete a Cable Rail Installation Kit that has all the specialized tools you need to easily complete any cable railing project. The kit includes both a cable cutter and cable crimper specifically designed to work with our cable railing systems. It also has other tools for tensioning, inserts, etc.
We also sell component cable railing kits that contain all the fittings you need to install cable railing with both wood and metal posts.
Viewrail aluminum or steel posts are custom made for each project to make the installation process easier. We pre-drill holes at the exact spacing, alignment, and angle needed to create a flawless appearance in your finished railing.
At Viewrail, we sell a complete a Cable Rail Installation Kit that has all the specialized tools you need to easily complete any cable railing project. The kit includes both a cable cutter and cable crimper specifically designed to work with our cable railing systems. It also has other tools for tensioning, inserts, etc.
We also sell component cable railing kits that contain all the fittings you need to install cable railing with both wood and metal posts.
Viewrail aluminum or steel posts are custom made for each project to make the installation process easier. We pre-drill holes at the exact spacing, alignment, and angle needed to create a flawless appearance in your finished railing.
Related Cable Railing Topics: