How to Lay and Mount Cable Railing Posts
Quick Points
In this install, we provide basically all the materials needed for the install. The only things you’ll need to bring are a drill or impact driver, a 3/16ths inch drill bit, a pen or pencil, a tape measure, and a speed square.
Step 1: Checking your drawing
 At this point, you probably have a sketch of where your cable railing posts are going to be placed. Refer to that drawing, and place your posts at their locations, ensuring that each of the posts are no more than 48 inches away from each other, on center. This will help you visualize the project, and make sure there are no unforeseen obstacles. If you are using level or angle posts in close proximity, make sure to mount them at least 1.5 inches away from each other, measuring from the outside of one post foot to the outside of the next post foot.
If you are using corner posts, ensure you have at least one tension run travelling in all directions. An easy way to check this is to make sure the larger ½ in holes on the backside of the corner posts are not facing each other.
Step 2: Using a Speed square
 To make sure your posts are level with the edges of your deck or balcony, use a speed square. Make sure as you’re placing the post, that it is at least 1.5 inches away from the edge of your blocking.
When placing your angle posts, you’ll want to place them as close to 1.5 inches away from your blocking as possible, to make sure the bottom run of cable will clear the tread nosings.
Step 3: Checking System Leveling
 Run the provided string along the edges of your posts to check for a consistent line. If the line is not consistent, you will have issues mounting your handrail. You should also run that string through the bottom holes on each of your angled runs, to make sure the cable will clear the tread nosings. It may help to tape the string to a drill bit, as shown.
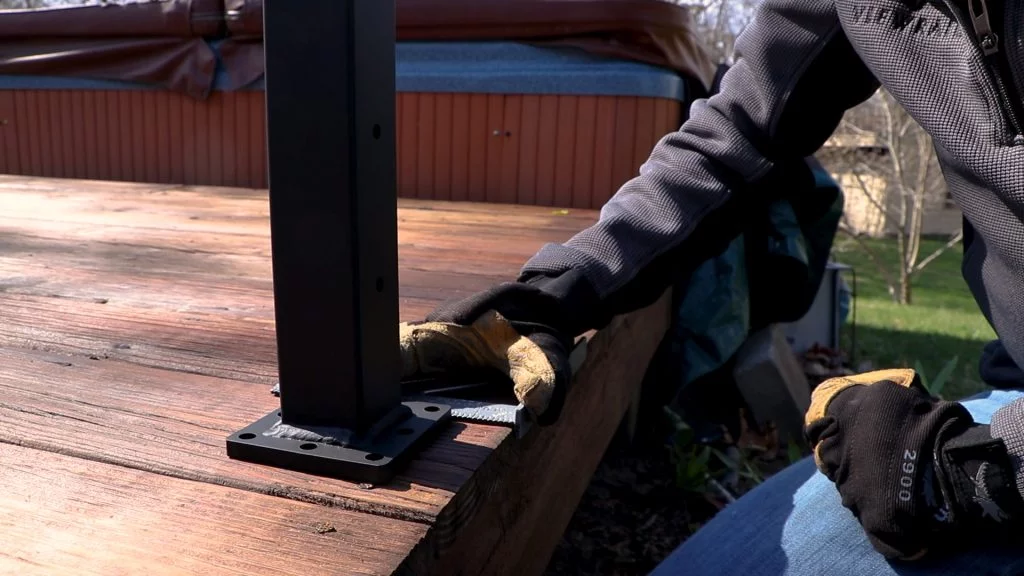
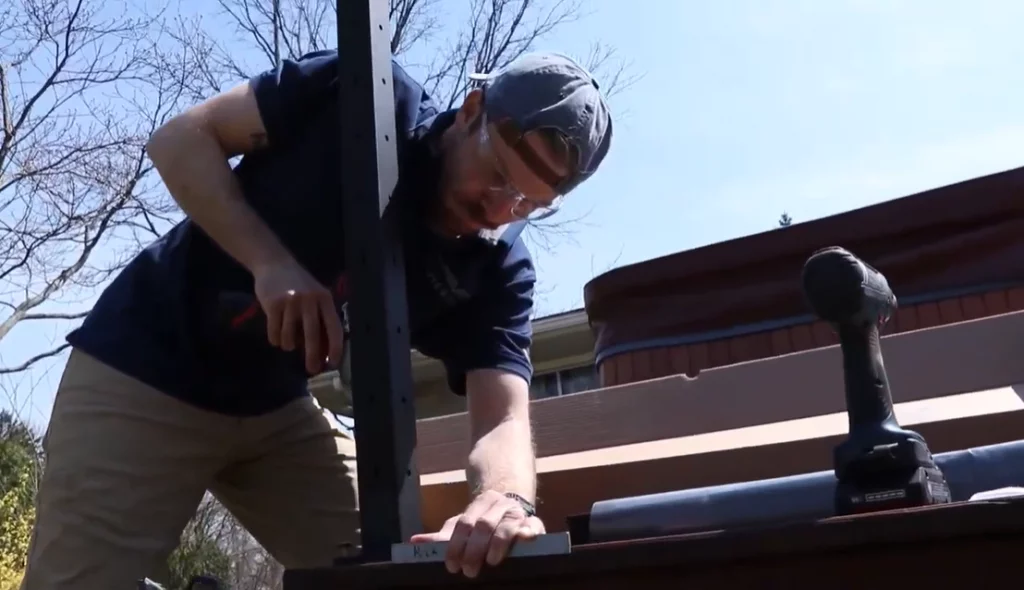
Step 4: Pre-drilling Mounting Holes
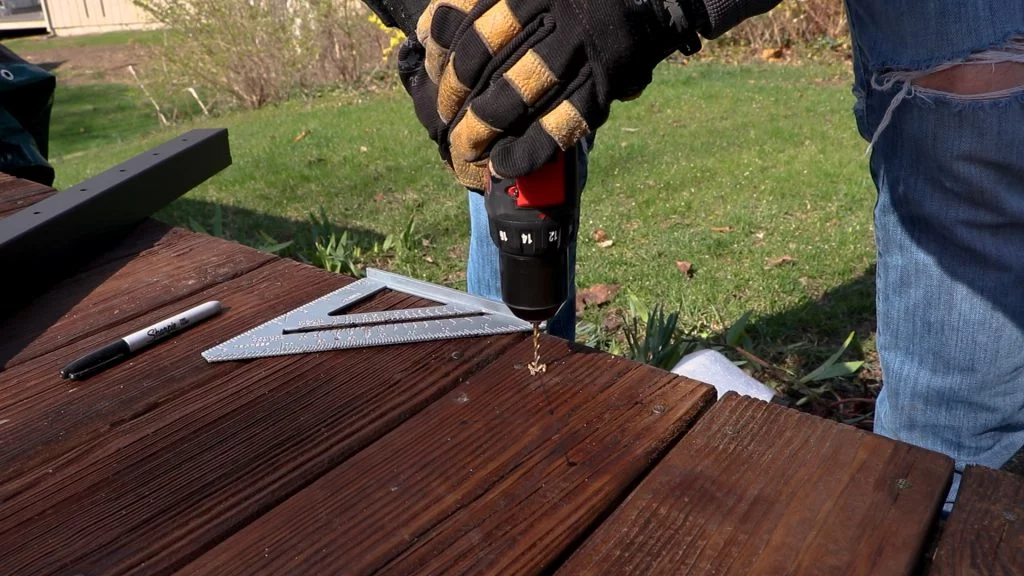 Now that you’ve confirmed the placement of your posts, mark the location of all your mounting holes with a pen or pencil. If possible, you always want to use the four corner holes. If that presents any issues, make sure to populate one hole on each of the four sides of the posts.
Removing each of the posts, use a 3/16ths inch drill bit to pre-drill all mounting holes.
Step 5: Mounting and Leveling Posts
 Replace the posts and populate all of your pre-drilled holes with the provided mounting screws.
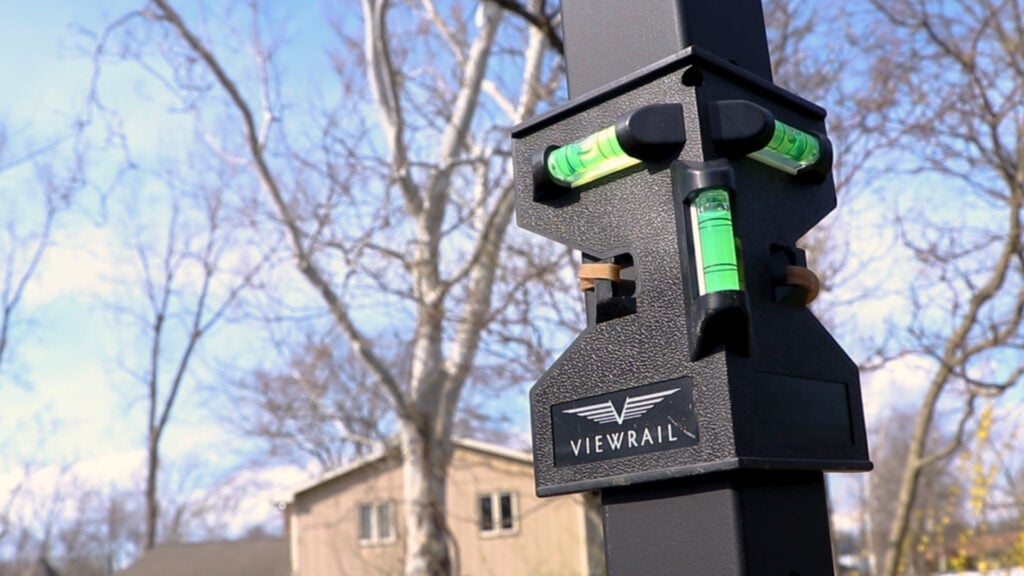
Place the post level onto the post, and make sure the post is level. If the post is not level, use the provided composite shims to level out the posts. Once it is level, slide your foot cover over top of the post, making sure to let it down carefully so it does not scratch the powdercoat. Repeat this step for each of your posts.
Step 6: Attaching the Handrail Bracket
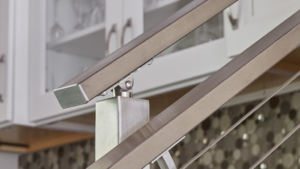
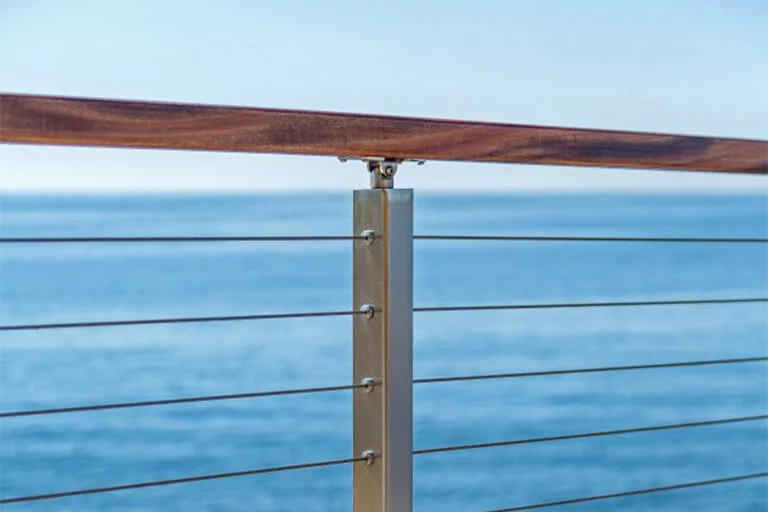
Position the handrail bracket on top of your posts, and attach it with the provided screws. If your system utilizes corner posts, make sure the bracket is oriented so it turns the corner the correct way. The Express Angle Posts come with a universal handrail bracket that will allow it to pivot on the angle of your stairway.
Now you’ve installed all your posts. To learn how to install the rest of your DIY Cable Railing System, check out our Youtube channel at youtube.com/viewrail.