Cable Railing Guide
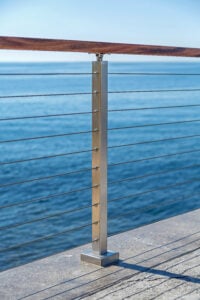
Designed for the DIY homeowner, cable railing is a power player in the horizontal railing industry. With simple components and distinct hardware, cable railing is ideal for indoor or outdoor projects. We even offer Onyx or Endurance rod infill upgrades depending on your style or environment.
Cable railing is ideal for three primary reasons:
- Sleek lines of cable make it easy to see what’s beyond
- Cable has a sharp, minimalistic look that traditional railing does not typically offer.
- It has natural strength and architectural integrity.
Read on for cable railing guide to the different parts of the cable railing system — and how it is well suited for your deck or stairway. Or if you’re wondering, what is cable railing?
Cable Railing Posts
What are they?
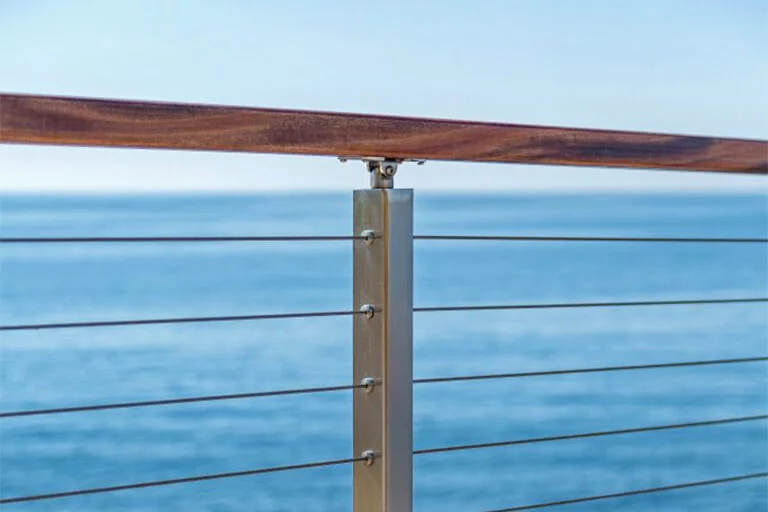
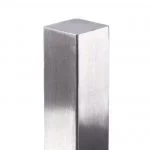
Put simply, cable railing posts are built to support an entire system. They stabilize the cable wire, so it does not deflect over time. They also support the handrail — whether it’s wood, stainless steel, or aluminum — allowing it to maintain its straight shape over time, (what’s the difference between aluminum and stainless steel posts?).
What benefits do they have?
Posts for cable railing are specially built to hide all the components of the system. Many outdoor railing posts are bulky, with protruding hardware that poses a safety hazard, and distracts from the aesthetic.
Cable railing posts, on the other hand, contain special equipment that connects the cable wires on the inside of the post. They even come in special designs that allow your system to turn a corner.
What do I need to install them?
Posts are the first — and one of the most critical — steps in the installation process. You’ll need foot covers and handrail brackets, an installation kit, and a few basic hand tools like a power drill and driver.
Each aluminum or steel post is custom made for your project to make the installation process easier. You’ll send us measurements, and we’ll pre-drill holes at the exact spacing, alignment, and angle you need.
Depending on which Cable Railing Kit you’re installing, you should have the Cable Rail Installation Kit, DriveTite Installation Kit, or both. Each tool kit has all the specialized tools you need to easily mount the posts directly to your deck or stair treads.
What are they made out of?
Cable railing posts are made from either:
- 304 Stainless Steel
- 2205 Stainless Steel
- Aluminum
What Kind of Post Should I Use?
Here’s a handy guide to the different kinds of posts available — and which will work best with your cable railing system. All Viewrail railing posts.
“I want the post to go on top of my level deck or stair treads.”
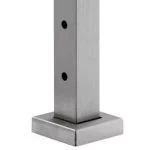
Use a Level Cable Railing Posts. These posts are designed with level hardware to mount flush against your deck or treads.
Available in the following materials:
- 2205 Stainless Steel
- Aluminum – interior or exterior
- 304 Stainless Steel – interior or exterior
Available in 36”, 39”, or 42” handrail heights
Available in the following colors:
- Brushed Stainless
- Black
- Bone White
- Colonial Grey
- Fashion Grey
- And more
“I want to conserve space on my staircase or deck.”
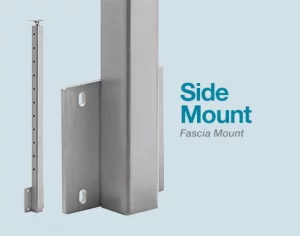
Use a Side Mount Cable Railing Posts. These posts are designed to mount to the side of stair treads and decks. With enough blocking depth and height (6″) for mounting, you can mount these posts directly to the fascia board of your deck. This helps you save extra space on your deck by moving the post from the edges of your deck to the sides. If you’re mounting on a stairway, just be sure that you have enough room on each side of the staircase to clear the ceiling line.
“I want to install the post on my concrete deck or patio.”
I need a post with extra structural support, or I want to install somewhere other than a wood deck.
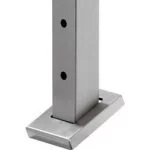
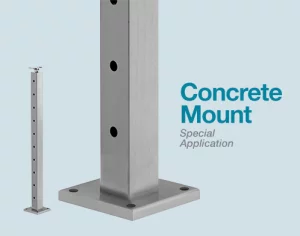
Use a Concrete Mount Post. These posts are built with a larger base foot — providing extra support. They use fasteners designed for projects other than wood decks. There is also a core drill post option which allows you to place the post directly into the ground.
How should I space my posts?
We recommend placing posts that the proper cable post spacing is no greater than 4 feet apart. Building code requires that the spacing of posts not exceed an amount that increases deflection, and placing a post every 4 feet helps reduce deflection. In other words, it keeps your railing from sagging and your handrail will remain strong over time.
Cable railing handrail
 What is it?
Cable railing Handrail is built to add stability and strength to the system. Because people will use the handrail to grasp, a handrail’s most important job is to last. It is supported by the cable railing posts, and typically mounted to the wall.
What benefits does it have?
Handrail for cable railing is specifically built to be a barrier from falling. But it also does the important job of finishing off the aesthetic of your system.
For example, pairing cable railing with a metal handrail is a sleek, modern statement. This kind of look is popular in minimalist homes — and it also gives a great industrial modern look.
But cable railing can also be matched with wood handrail. This is a great way to pare down the industrial modern vibes with a slightly more traditional statement.
What is it made out of?
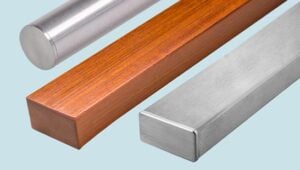
Cable railing handrail is made from either:
- Wood – a variety of options, including Ash, Hard Maple, and Red Oak
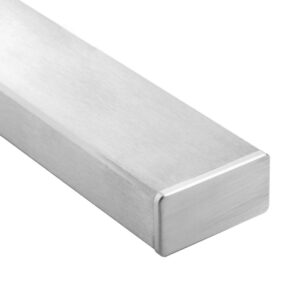
- Stainless Steel – Interior, Exterior, Coastal, or Extreme Coastal
- Aluminum – Interior or Exterior
A Guide to using Metal Handrail
If you’re installing metal handrail — stainless steel or aluminum — you may need to cut it onsite to the right length. You will need a chop saw with a stainless steel cutting blade. A chop saw cuts straight, 90º angles.
You’ll also need handrail brackets to secure the handrail to the posts. Brackets are available with 90° orientations for connecting to the posts.
A Guide to using Wood Handrail
Wood handrail is often used in slightly more traditional homes. If you’re installing wood handrail indoors, you may need to cut it onsite to the correct length. Use a chop saw to cut the handrail to the correct length.
If you’re dealing with a corner, you may either butt the pieces of handrail together or miter each piece at a 45° angle and glue the pieces.
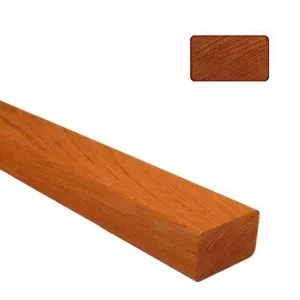
If you’re installing wood handrail outdoors, you’ll need to use Endurance Series wood. This is a type of wood that is thermally modified to withstand all the natural enemies of the outdoors — moisture, rot, mildews, and the elements. The wood is engineered without chemicals, so it’s a renewable resource from start to finish.
Cable Railing Kits & Wiring
Onyx and Endurance Rod Infill Upgrades
At Viewrail, we’ve made it our mission to make the best cable railing, just the way you want it. One of the ways we do that is by offering a few unique upgrades to not just the posts or handrails, but the infill of your railing itself.
Our two main infill upgrades are Onyx rods – slim metal tubes that are powder coated matte black for an ultra-modern finish – and Endurance rods – 1/4″ groove-less rods (near same thickness as cable) that are made from 2205 stainless steel so they are practically rust-proof.
But the options don’t stop there.
The DriveTite Kits: What are they?
Cable railing posts have the unique mission of hiding all the components neatly inside. DriveTite accomplishes that mission in wood posts with hidden fastener technology.
Each DriveTite kit contains all the tools needed to tension one end of cable on either an angled or level run. Each component is custom manufactured from premium marine-grade 316 stainless steel.
You have two different options when it comes to DriveTite:
- The DriveTite Level Kit
- The DriveTite Angled Kit
DriveTite Level Kit
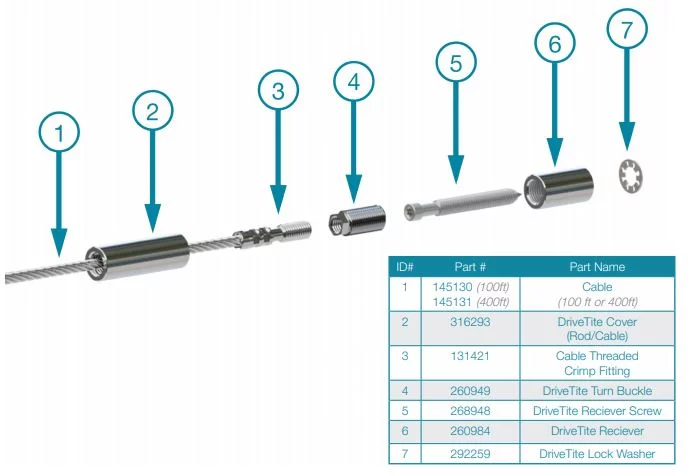
Our newest version of the DriveTite Level Kit, this sleek fastener uses use a slim cover to hide all the hardware, and fastens into the face of the post using a single pilot hole. It is specifically designed as a DIY solution and is a quick and easy installation.
This kit can be used to mount cable railing to solid posts that are at least 2 ½” thick. It can also mount to hollow posts that contain at least 1 ½” thick walls.
The kit includes:
- a receiver screw
- a threaded crimp fitting
- a DriveTite turn buckle
- a DriveTite receiver
- a lock washer
- a DriveTite cover
DriveTite Angled Kit
The DriveTite Angled Kit uses a simple tensioning screw and barrel fitting to mount to the surface of a wood post. The only drilling necessary is a small pilot hole.
This kit can be used to mount cable railing to solid posts that are at least 2 ½” thick. It can also mount to hollow posts that contain at least 1 ½” thick walls.
The kit includes:
- a barrel fitting
- a cable stop crimp
- a surface cover
- a tube of silicon to secure the surface cover to the post
Cable Rail Installation Kit
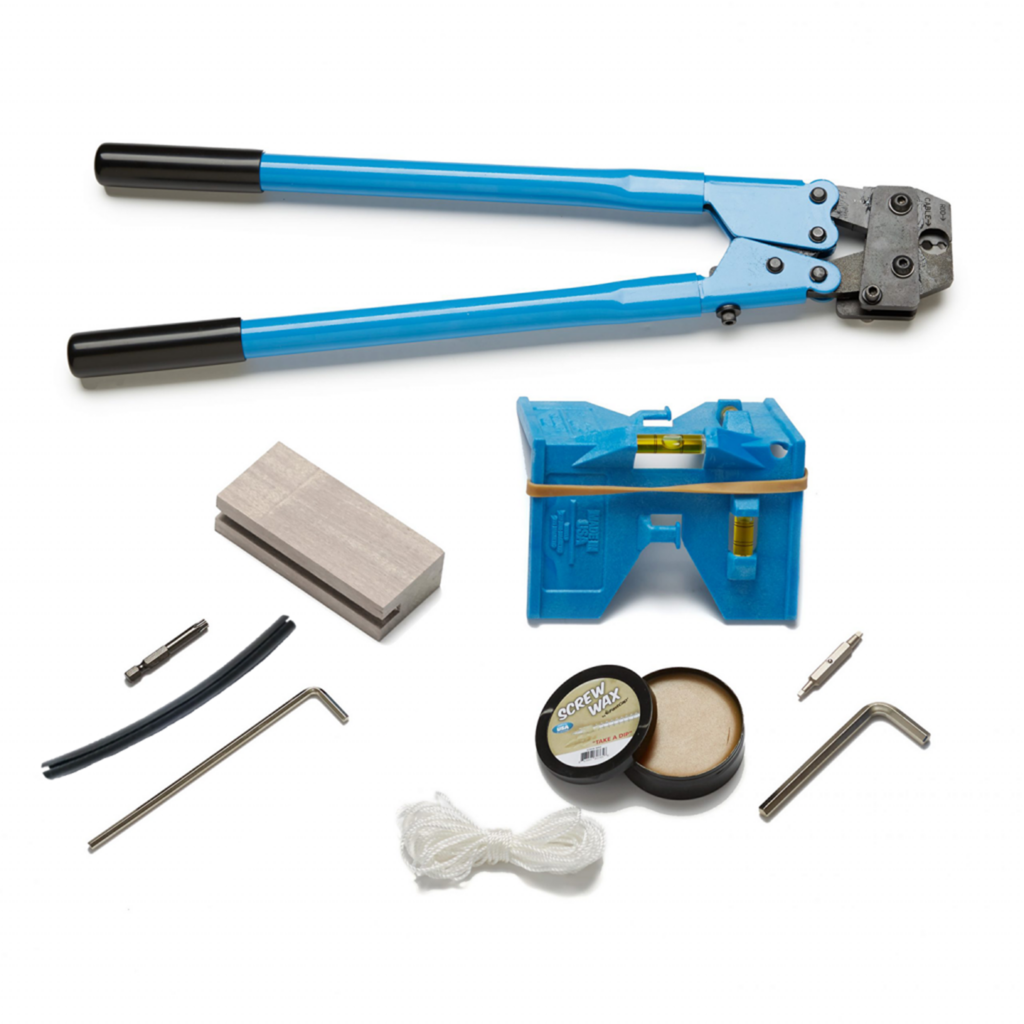
This kit is designed to be used with our DriveTite System. It contains all the tools you need — saving you a trip to the hardware store, while ensuring that you have the right tools for the job.
The kit includes:
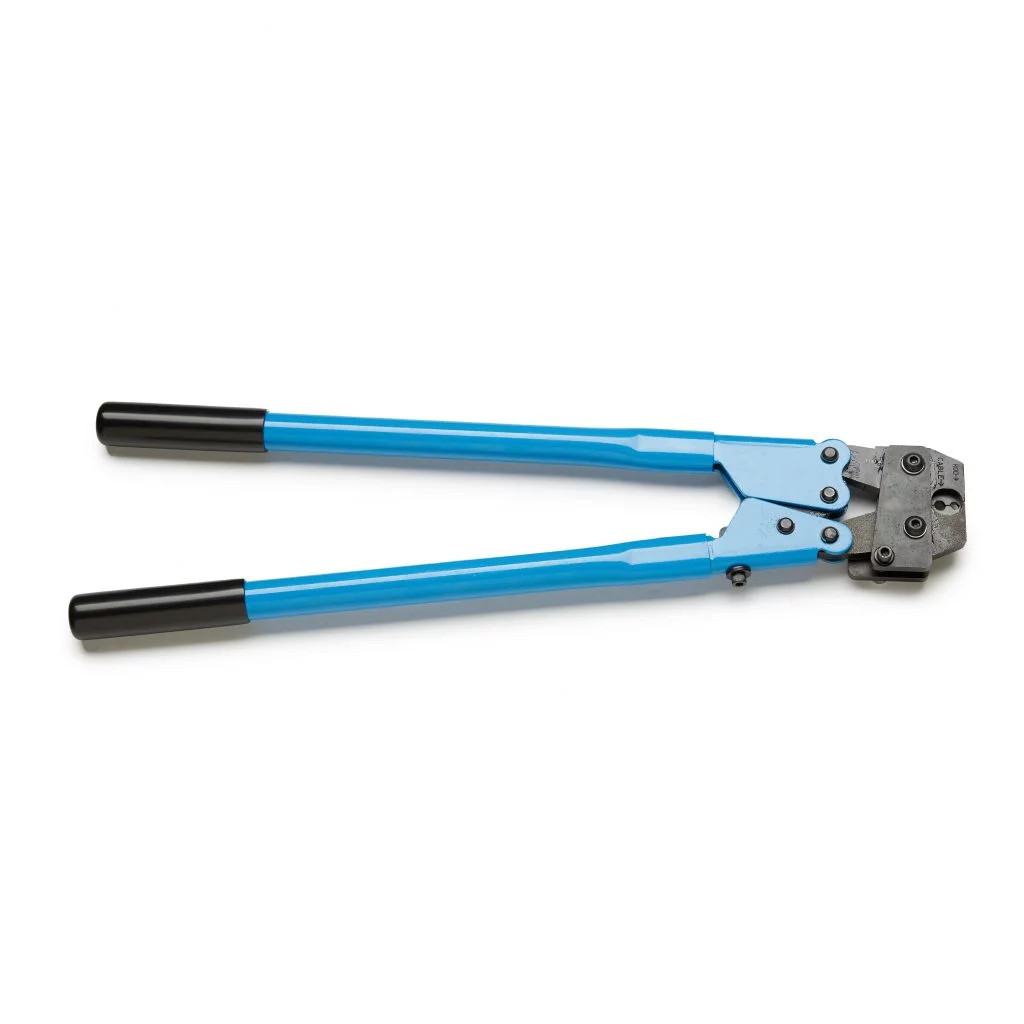
- cable crimpers
- a cable cutter
- a 6” T-30 Bit
- an insert sleeve driver
- a bundle of string
- a drill bushing/DriveTite wrench
- DriveTite fitting tool
- a 2 oz bottle of screw wax
Cutting cable
First, you’ll measure the distance from one post to another in order to determine how much cable you need. Then, mark your cable and cut.
Use special Cable Cutters (included in both the Surface Installation and Crimped Installation kit) to cut the cable. We recommend cutting and crimping one cable at a time.
Threading cable through
First, put the threaded crimp fitting through the hole of a tensioning post, and thread the tension receiver on the threaded crimp fitting. Tighten it by 4 turns.
If your posts are for an angle application, be sure to add the Angle Washer to the Tension Receiver before threading into the Threaded Crimp Fitting.
Next, thread the cable through each post.
If you’re using adhesive sleeves… it’s time to apply them!
- Use a clean rag to wipe the post where the sleeves will be installed.
- Peel the backing off but don’t touch the adhesive.
- Press the sleeve against the post, applying moderate pressure for 3-5 seconds.
Wire
Once all your cables are threaded, tighten the cable at the middle of the post using your Allen Wrench and Tightening Tool (included in both the Surface Installation and Crimped Installation kit). Work out from the middle, tightening from each end so that the Threaded Crimp Fitting is into the post far enough that the sleeve can be inserted.
Stop tightening once the cable is taut. Use the Tightening Tool to hold the fittings in place while tightening, and don’t allow the cable to spin while tightening.
If you’re installing on an angle, crimp and attach the bottom end first. This will allow gravity to help hold the guide pin in place when aligning and attaching tension receivers at the top.
If you’re using steel insert sleeves… it’s time to apply them!
Put the sleeves on the cable as it is being strung through the posts.
Tap them in using the wood block provided in your tool kit.
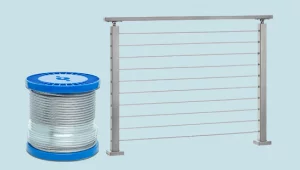
Cable Railing Wire is sold in bundles.
Conclusion
That’s it! You’re all set to purchase a cable railing system for you stairs, deck, or anywhere else. If you’re looking for more information check out the related topics sections or contact our experts by phone at 866-261-8013.


 What is it?