How To Purchase Glass Railing
You’re thinking about buying a glass railing system for your new construction or renovation. It’s exciting to look at pictures of other projects and visualize your project coming to life. But how do you actually buy it? Can glass get shipped to you? Will you be able to install it yourself? How long will it take? These are all great questions.
Glass railing can be tricky, but we have narrowed it down to to 5 steps: Visualization, Engineering, Fabrication, Receiving & Installation, and Living. We’ll go over everything you need to know about buying your own glass railing system and getting maximum value from it.
Quick Points
Visualization (2 Days)
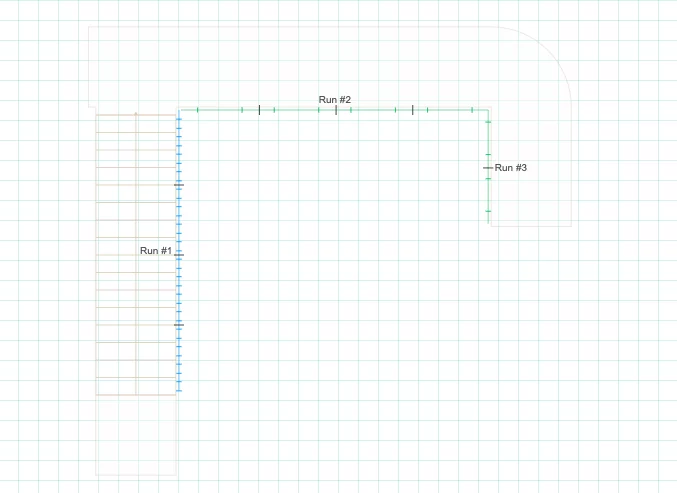
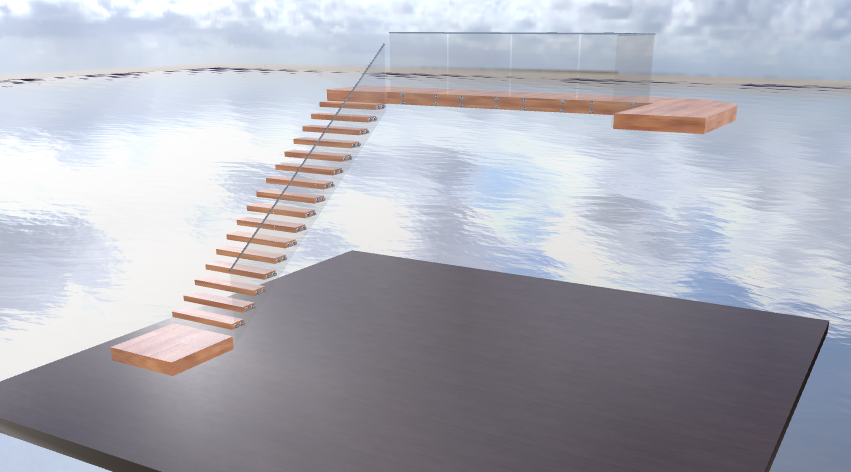
Buying glass railing all begins with one thing: your vision. You may have an exact drawing of how you want your glass railing to look or you might need some suggestions. Either way, we’re here to help. Send us your sketches, plans, and pictures and, within 24 hours, you’ll have a 2D & 3D rendering of your project, a pricing estimate, and a meeting with one of our glass experts to review your design. It doesn’t matter how complex or simple the project is.
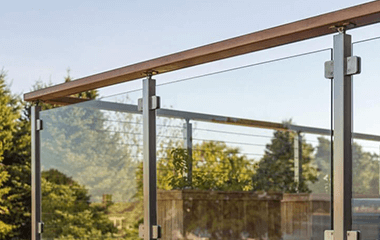
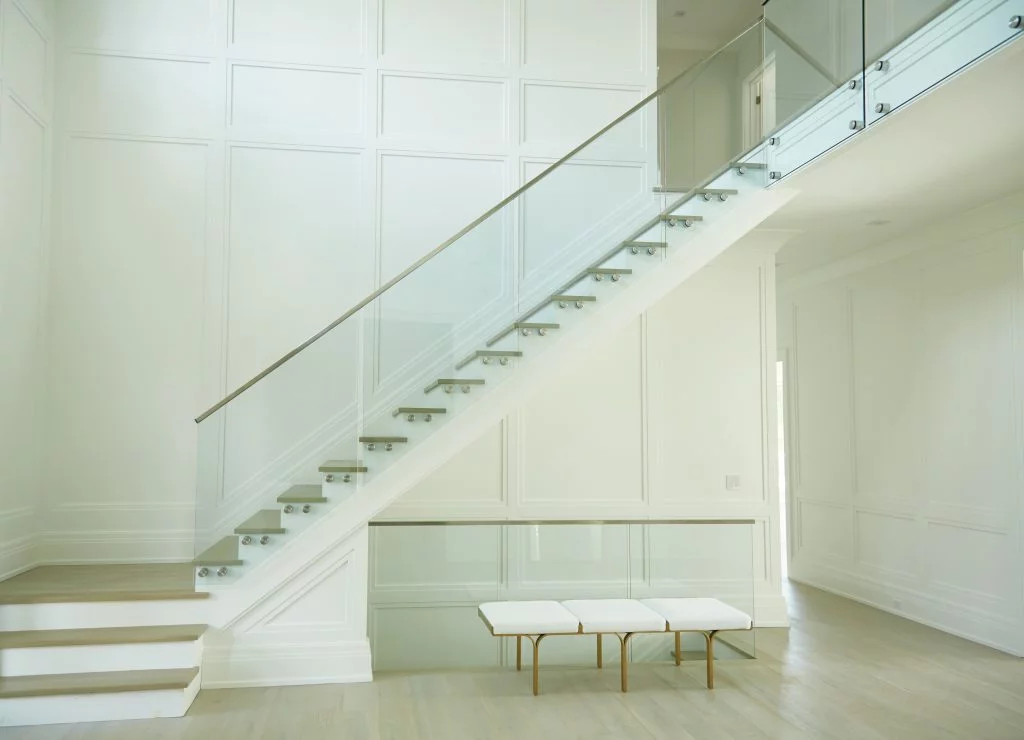
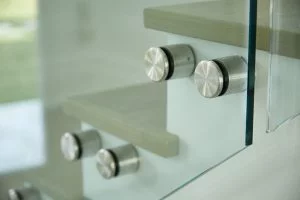
Seeing your project rendered in 3D can make a huge difference. You may realize that you want to change the mounting style from a post-to-post system to a standoff pin system (like the one pictured above). There’s no rush. Our designers will be happy to show you options and help you make the best decision for your project. You can even see your project with different cap rail types and finish colors to make sure you know exactly what to expect.
Once you’ve decided on a design, a Viewrail project coordinator will confirm all measurements before we go into engineering. It’s critical that we get exact measurements, but the project coordinator will make sure that you know exactly what to measure and help you get it right.
Engineering (3 Days)
After the design is finalized and we’ve gotten the measurements necessary, our team of engineers will go to work. They make sure that they account for the entire environment in which your glass railing will be installed.
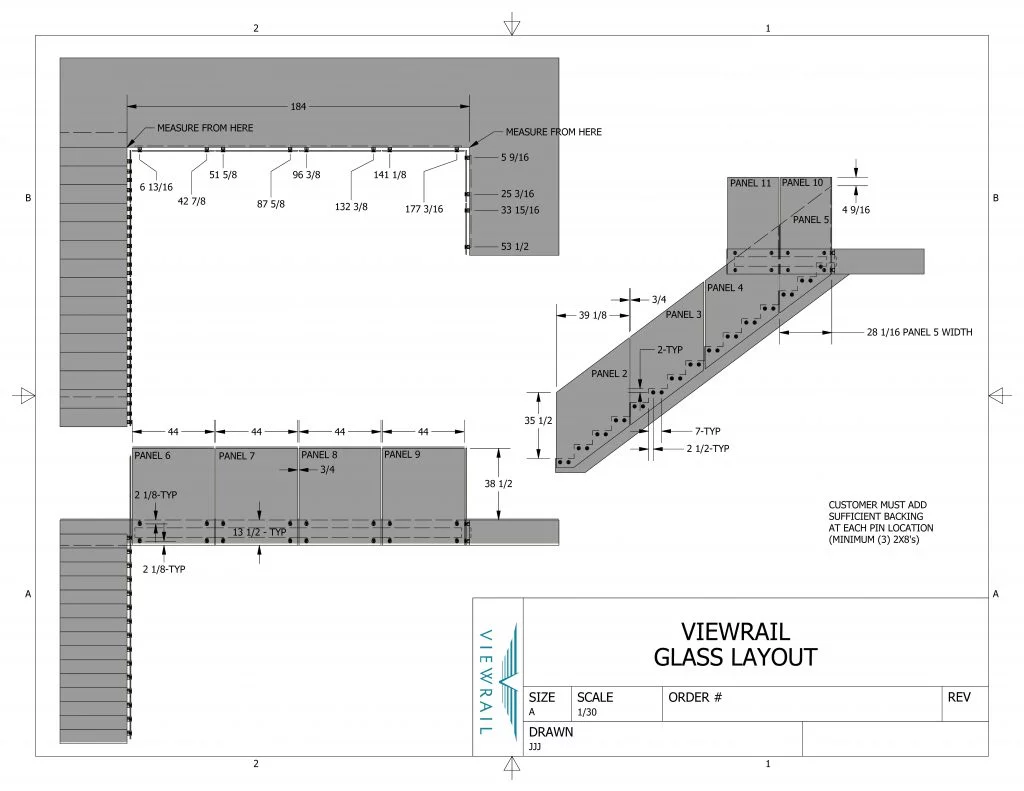
The layout drawing our engineers create details where all of your mounting structures (posts, glass pins, baserail, talon spigots, etc.) and glass panels will be installed. This drawing takes into account any existing environmental concerns shown in the environmental drawing and serves as a precise model for where to install all materials. See below for a sample of what an engineered layout drawing looks like.
A good way to save time during this step is to make sure that all measurements provided are correct. Occasionally, there will be some back and forth during this stage, and you can help expedite the process through quick responses and clear communication with your project coordinator. Once you confirm that the engineering drawings match your project, engineering is complete and you’ll move into fabrication.
Fabrication (11 Days)
This stage is where everything gets made. There’s nothing for you to do during this time except start prepping your job site. Your project coordinator will be able to help you understand what you can do to be ready to receive and install your glass railing. They will also be in regular contact with you during this stage to provide you updates on production schedules and let you know of any speed ups or delays.
Receiving (1-5 Days) & Installation(1-5 Days)
Your glass panels will arrive to the jobsite in a horizontal shipping crate. The packaging is designed to minimize any movement of the glass panels during shipping, reducing the chance of cracks or breaks. Further, each glass panel will have a number that corresponds with the numbers on your layout drawings.
All of your mounting hardware will be individually packaged with a number that corresponds to your layout drawing, just like the glass panels. This dramatically reduces the amount of time needed for organizing materials on the job site and lets you jump into the installation much quicker.
Installation instructions will be sent with your order. Each mounting system has slightly different installation instructions, but a good rule of thumb is to budget 1 person hour for each glass panel on your order. So if you have a team of 3 people installing a project with 15 glass panels, it should take about 5 hours total.
Living
Congratulations! Once you’ve made it here, you’re glass railing will be fully installed and you’ll be living with the beautiful views that glass creates. Here’s a few tips to help you keep your glass railing clean:
- Using a microfiber cloth, apply the same cleaning chemicals that you would normally use on glass windows. A little bit of cleaning solution goes a long way.
- A good rule of thumb for interior glass railing is to clean it as often as you dust. For exterior glass, clean it as necessary.
- If you live in a cooler climate where you don’t spend a lot of time outside during the cold months, we recommend using a pressure washer in the spring to wash away accumulated grime. Always start at a low pressure and far away from the glass, slowly upping the pressure or closing the distance as necessary. Once you finish pressure washing, go back over it with the microfiber cloth and cleaner from step 1.
To read more, check out this article on glass railing maintenance and safety.
If you’d like to take the next step, talk to one of our experts!
Click the button below to fill out our design help form. Then, one of our glass railing experts will contact you to begin the visualization phase. We’re so excited to show you what glass railing can do in your project.
