Glass Railing Installation
How to Install Glass Railing
Templates & Measuring
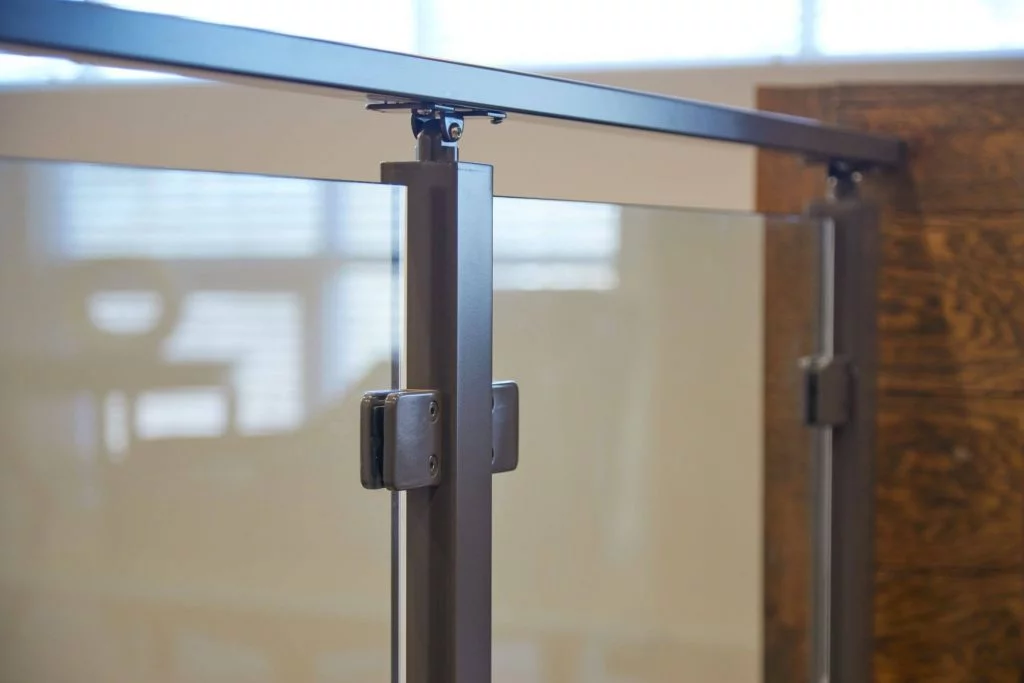
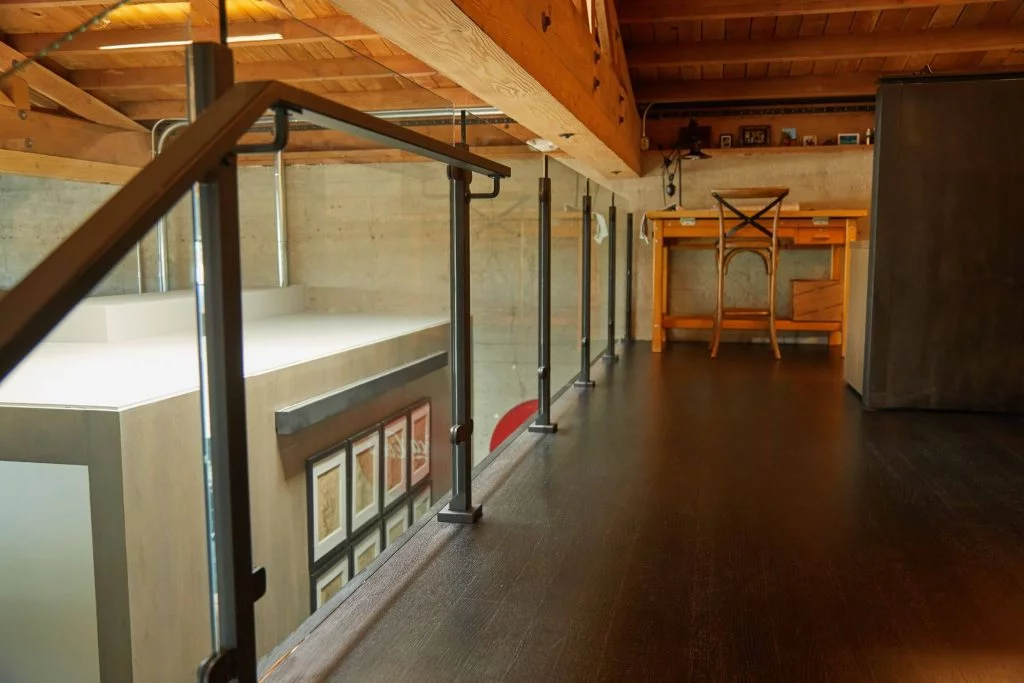
Glass Railing Posts Install
Install Documents
Post Videos
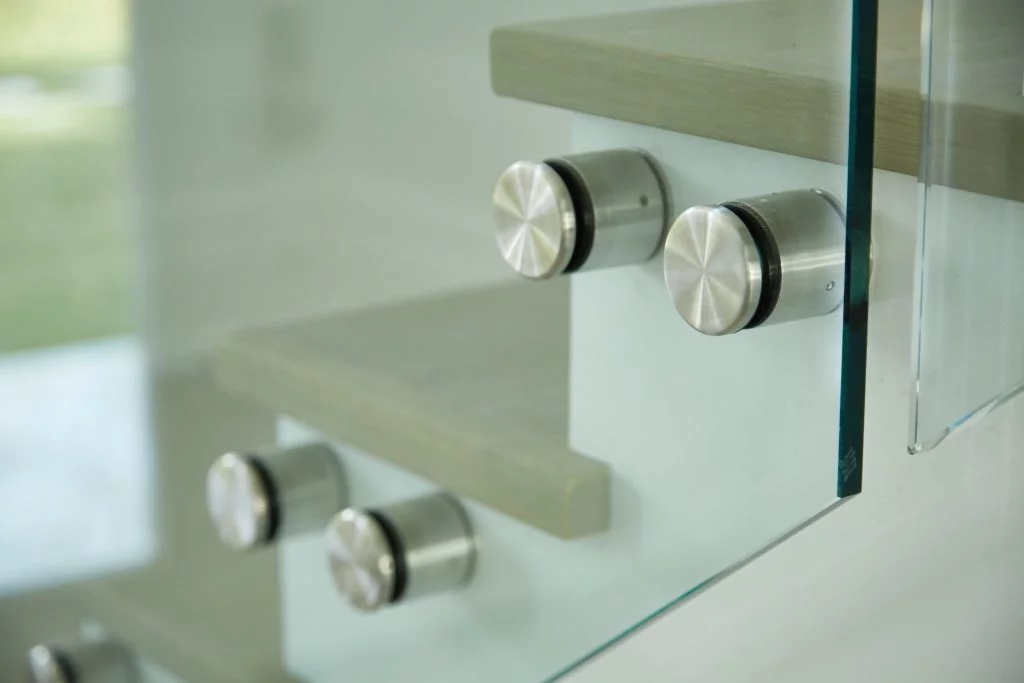
Glass Railing Standoff Pins Install
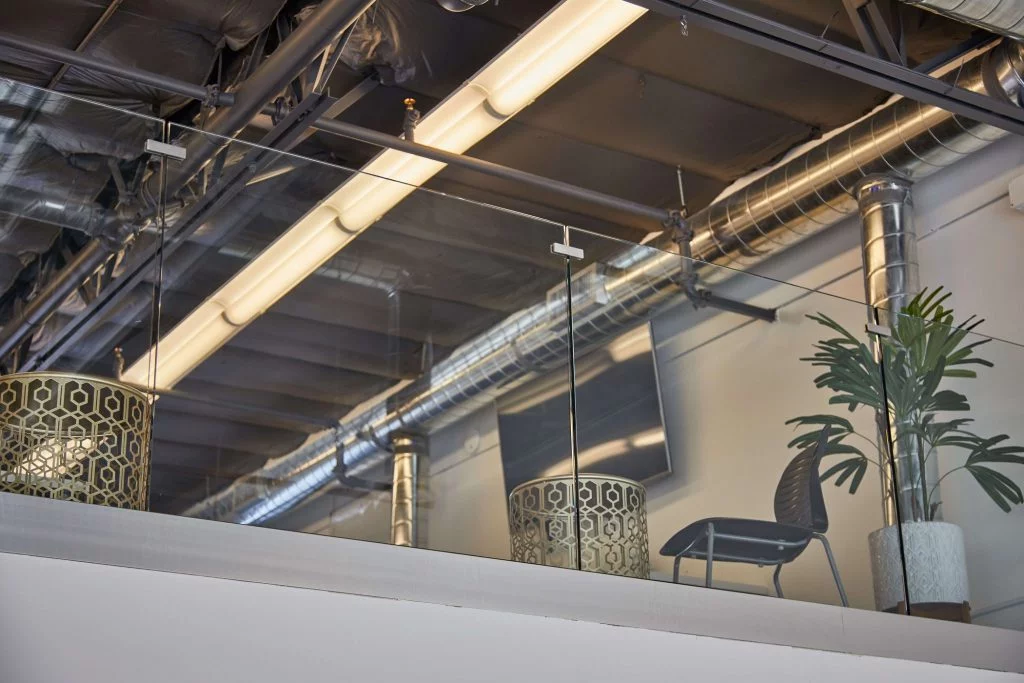
How To Measure For Glass Railing – Surface Talons
To help you get exact measurements for your new glass railing system, we’ve sent you a glass railing measuring kit, this kit includes:
- Post Layout Drawing
- Template Guide
- Wood Screws
- Acrylic
Our plan is to help you gather the correct measurements seamlessly, so we can send them off to our engineering team quickly!
Step 1 – Identify Your First Run
To begin measuring for your new glass railing system, you’ll need to identify your first run. Inside the glass railing measuring kit there is a post layout drawing. Take that glass railing sheet and look for run #1. Once you find it, locate it on your deck so that you’re prepared for the next step
Step 2 – Using The Template
In the measuring kit, we’ve also included a template guide. In that guide, you’re going to have acrylic talon spigot templates. The Acrylic talon spigots represent the mounting foot and the termination to the glass. On the corner condition, or an outside corner condition like this, we are going to want to lay these templates taking into effect the outside overhang of the deck and the location of these mounting fasteners.
First: measure the overhang (in the video above we get 1” of overhang)
Second: Measure the outside.
The Goal: Assuming there’s an overhang we want to position these 1” from the outside to ensure that the mounting locations are directly back underneath the finished deck board. WHY THIS IS IMPORTANT: There needs to be proper mounting for the hardware for proper safety & code compliance.
Step 3 – Mounting Acrylic templates
With the correct offset, The next step is to align our glass edges so that we’ve got a 1” gap between these two glass edges. After gathering this information Once you have those two take your supplied screws and mount them in place.
Step 4 – Templating for Stairs
Now that we’ve got our corners set on the opposite end of the run, we’ve come to where the stairs are going to descend behind us, which is where we’ll set our second template. Taking into account, once again, the overhang, set the template exactly where it’s going to be mounted into solid material underneath. Remeasure the overhang to make sure it is the same as the previous one and directly in line with the opposite end. Once those two things are set, we’ll go ahead again and mount this second template.
Step 5 – Recording Information & Repeating
Once both templates are installed you can find the measurement of this run. When calculating this measurement, we want to find the measurement directly from one end of the template foot to the opposite end of that outside foot (when you’re hooking the tape measure you want to hook to the foot & not the end of the glass). After gathering the distance between the two feet, record it on the back side of the template guide. On the backside of the template Guide, you should have the run type & the distance of that run. Repeat this process through the rest of your level runs on your project. After that, it’s ready to be submitted to us for engineering!
Install Document
Install Video
Glass Railing Baserail Installation
How To: Measuring For Glass U-Channel & Base Rail
To help you get exact measurements for your new glass railing system, we’ve sent you a glass railing measuring kit, this kit includes:
- Post Layout Drawing
- Template Guide
- Wood Screws
- Acrylic
Our plan is to help you gather the correct measurements seamlessly, so we can send them off to our engineering team quickly!
Step 1 – Identify Your First Run
In order to begin measuring for your new glass railing system, you’ll need to identify your first run. Inside the glass railing measuring kit there is a post layout drawing. Take that glass railing sheet and look for run #1. Once you find it, locate it on your deck so that you’re prepared for the next step.
Step 2 – How to Use the Base Rail Templates
In the base rail measuring kit there are two acrylic templates:
Acrylic piece for a Straight Run
Acrylic piece for a Corn termination
The Goal: Assuming there’s an overhang, we want to position these 1” from the outside to ensure that the mounting locations directly back underneath the finished deck board. WHY THIS IS IMPORTANT: There needs to be proper mounting for the hardware for proper safety & code compliance.
First: If an overhang exists, measure the overhang to the acrylic piece (in the video above we get 1” of overhang).
Second: Measure the outside edge to the outside edge.
Step 3 – Installing the Acrylic Pieces
Take the corner acrylic piece and place it in a corner, after accounting for the overhang, position the template and use the mounting screws to set it in place. Make sure to drill in the template to the backing underneath your deck. Once the template is set, we need to install the template on the opposite end. Take out the straight template and place it on the deck’s perimeter. Account for the overhand and mount this piece into the decking.
Step 4 – Measuring the Run
Now that both templates are set, measure the distance with your tape measure from the one template to the other. When doing this, hook the tape measure to the outside edge of the base rail template then go to the opposite end (in the video we get 143 ¼ ).
Step 5 – Recording the Run Type & Length
On the backside of the template guide, there are two things to fill out: run type & run length. For run type state one of the following: straight to straight, straight to corner, corner to straight, corner to corner. For run length, simply record the distance of the run length.
Install Documents
Glass Railing Talon Spigots Installation