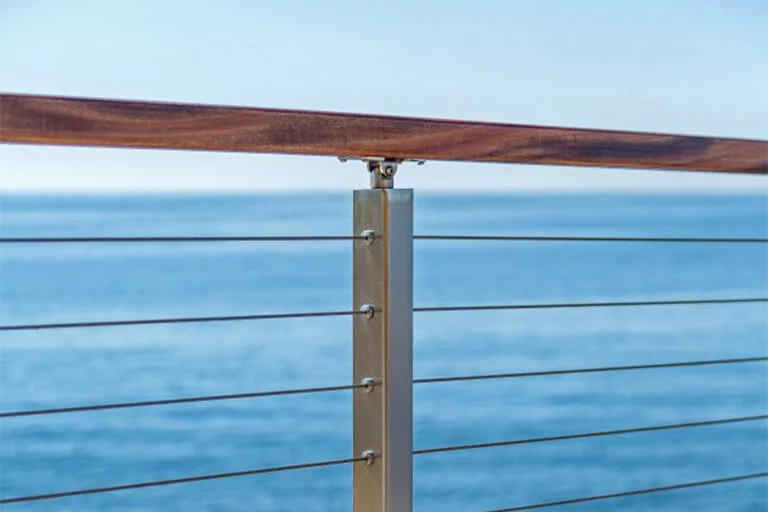
How To Install Cable into Angled Wood Posts with Drivetite
Quick Points
DriveTite is our cable railing kit for wood posts. This means that if you have sufficient blocking with existing structures, all you need is our components and cable. If you’re installing cable on a level run, check out how to install cable railing kits into wood posts if you have any questions.
We provide most of the materials needed for this installation. You will need to bring:
- An Impact Driver
- A Power Drill
- Painter’s Tape
- A Sharpie
- A Tape Measure
- A Speed Square
Step 1: Mark Your Cable Runs
Identify all the sides of the posts where you will be running the cable. Using painters tape, tape a strip vertically in the center of your post top to bottom. This allows you to mark your drill points on a surface other than the post material, and will also help keep dust to a minimum.
Next, using a tape measure or our DriveTite tool, measure your cable runs 3 ⅛” apart on center. The holes in the tool are spaced out 3 ⅛” apart, so use those as a reference point. Mark all the drill holes on your posts. Once complete, use a 1/8” drill bit and drill 1” into each mark. It may help to measure 1” on your drill bit to maintain consistency of depth when drilling. Remove the tape on the posts.
Step 2: Measure and Cut Your Cable
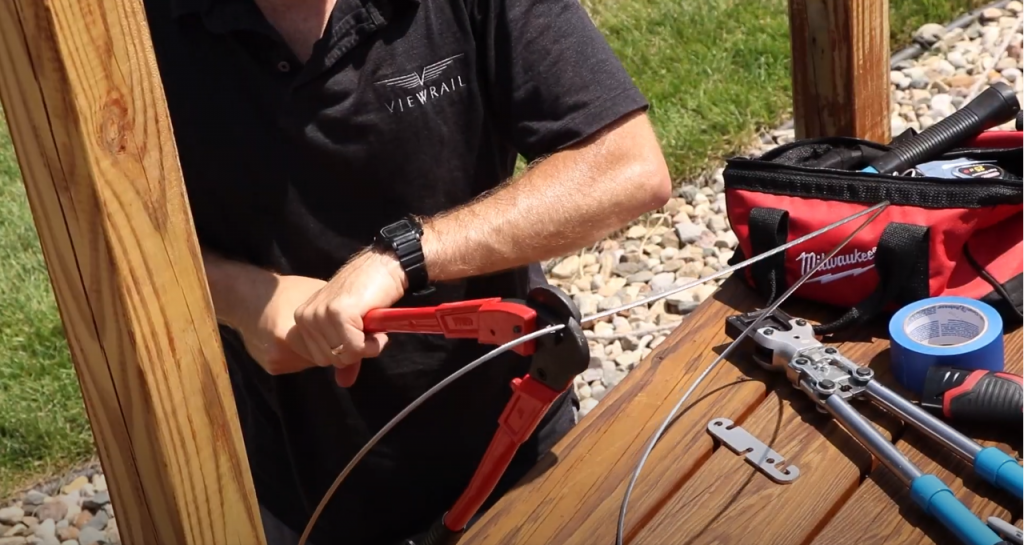
Measure the distance between your two end posts on the run. The end posts will be the posts to which you are tensioning DriveTite to. For Angled Runs, there is no need to adjust the overall measurement length; the total measurement will be your cable length. Take your cable and using a Sharpie, mark that measurement on the cable. Use the cable cutters to trim the cable.
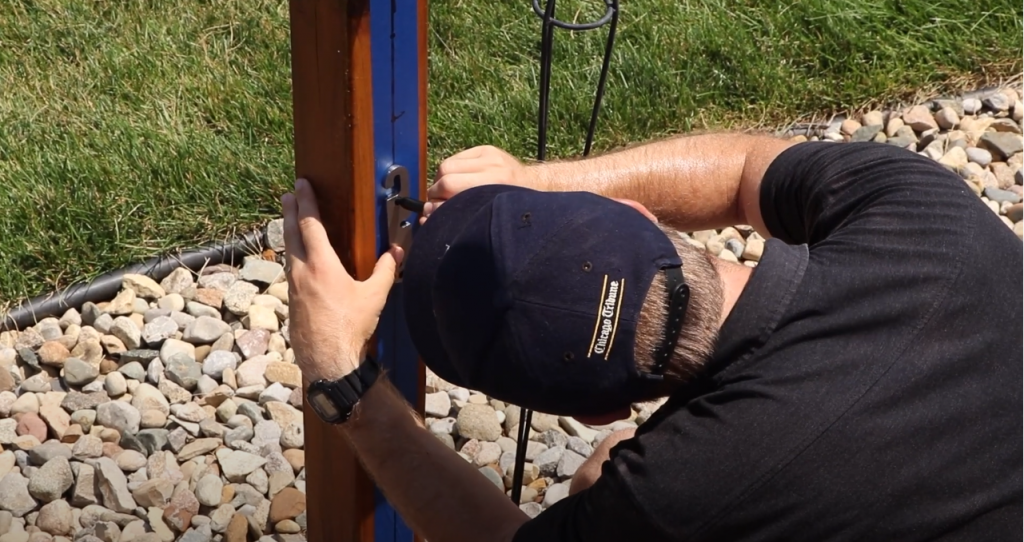
Step 3: Attach the Cable
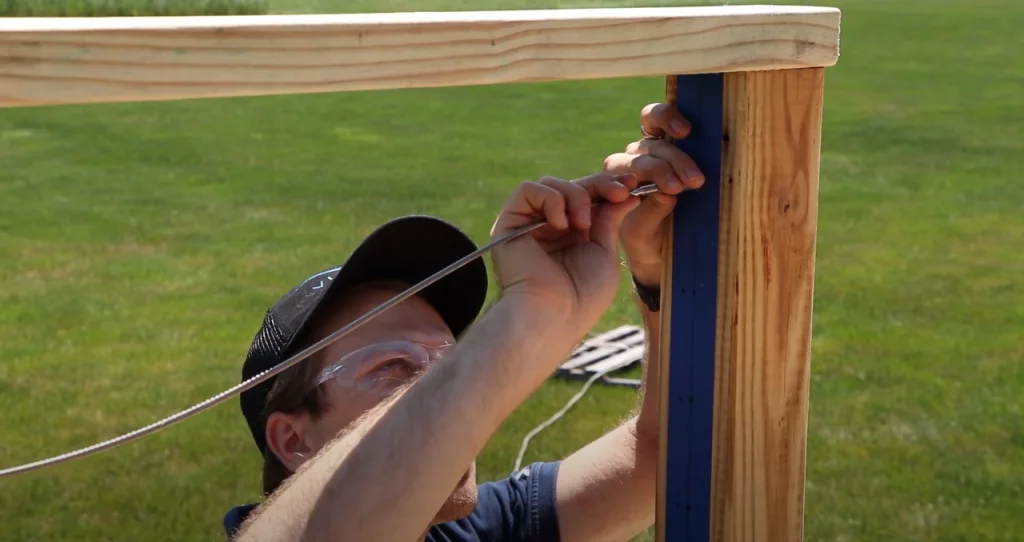
Slide the Surface Cover onto the cable with the open end facing the post. The cable will go in the open end and out the slot in the cover. Next, put the barrel fitting onto the cable and push the cable out the far end. Now, put the cable stop onto the cable and crimp this twice. This will lock against the barrel fitting.
Now that the cable is locked against the barrel fitting, use the DriveTite Tensioning Screw to attach the barrel fitting to the post. You will use the T25 bit to fasten this into the post. Once tight against the post, add silicone on the perimeter of the barrel fitting. Then slide the Surface Cover down the cable and onto/around the barrel fitting. Make sure it sits snug and flush against the post.
Now the cable is tight and all you need is to repeat these steps on each end of your runs.
That’s all you need to do to install DriveTite Cable Railing on Angle Tension Runs! You can keep up to date with all of our installation instructions by subscribing to our channel at youtube.com/viewrail or by visiting our website at viewrail.com.