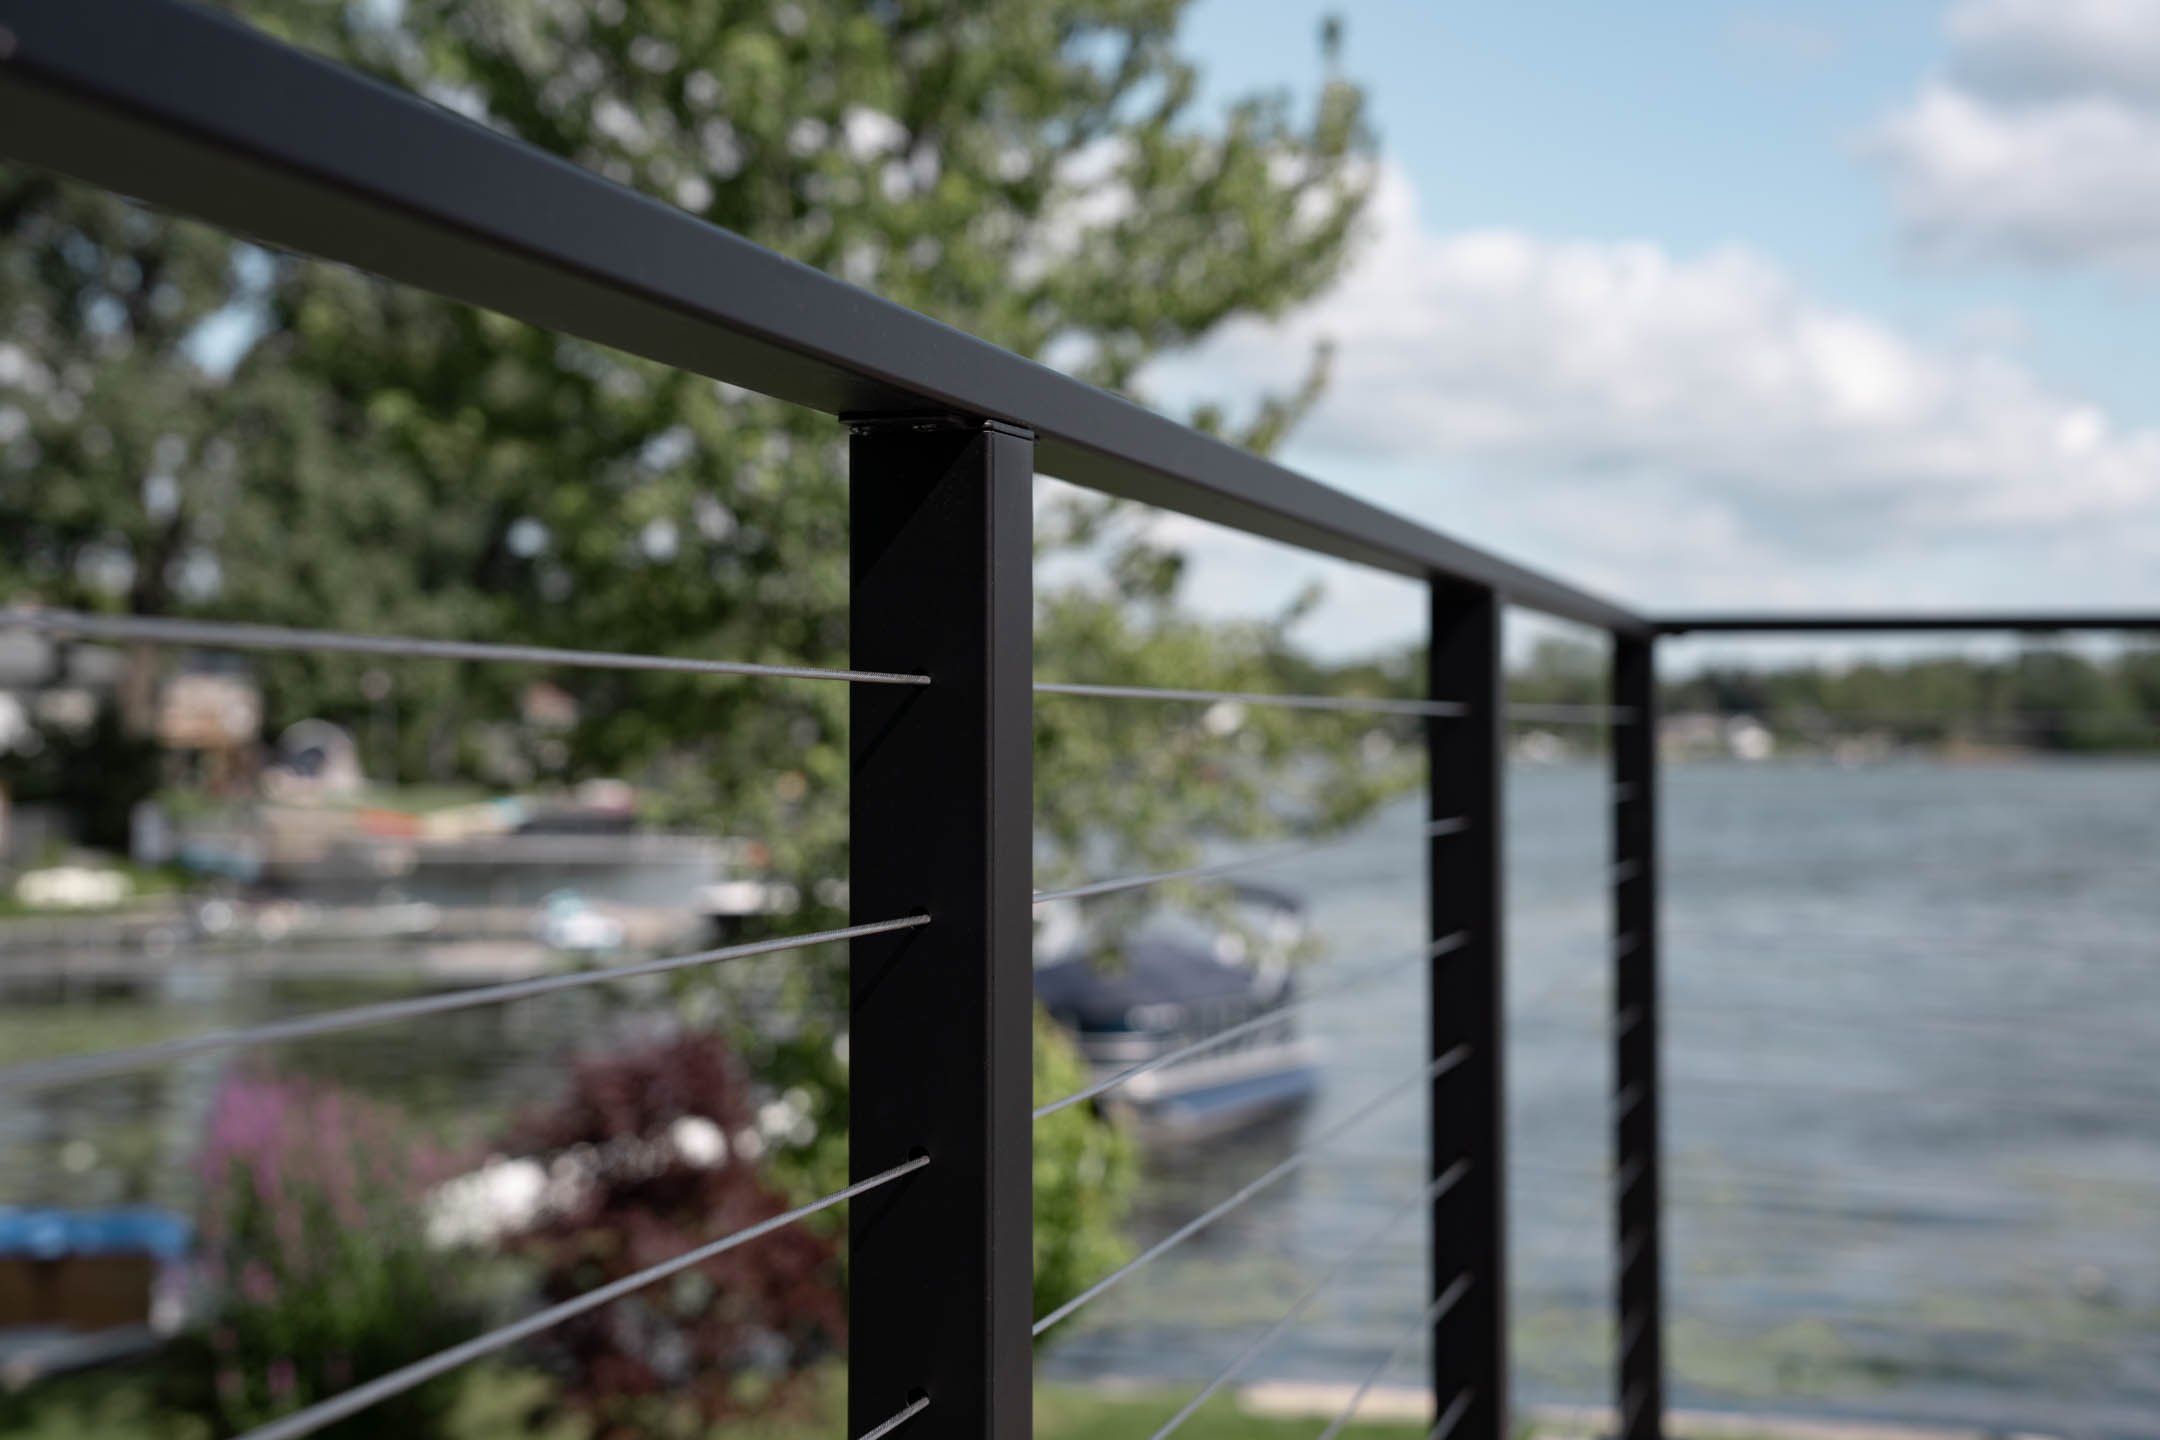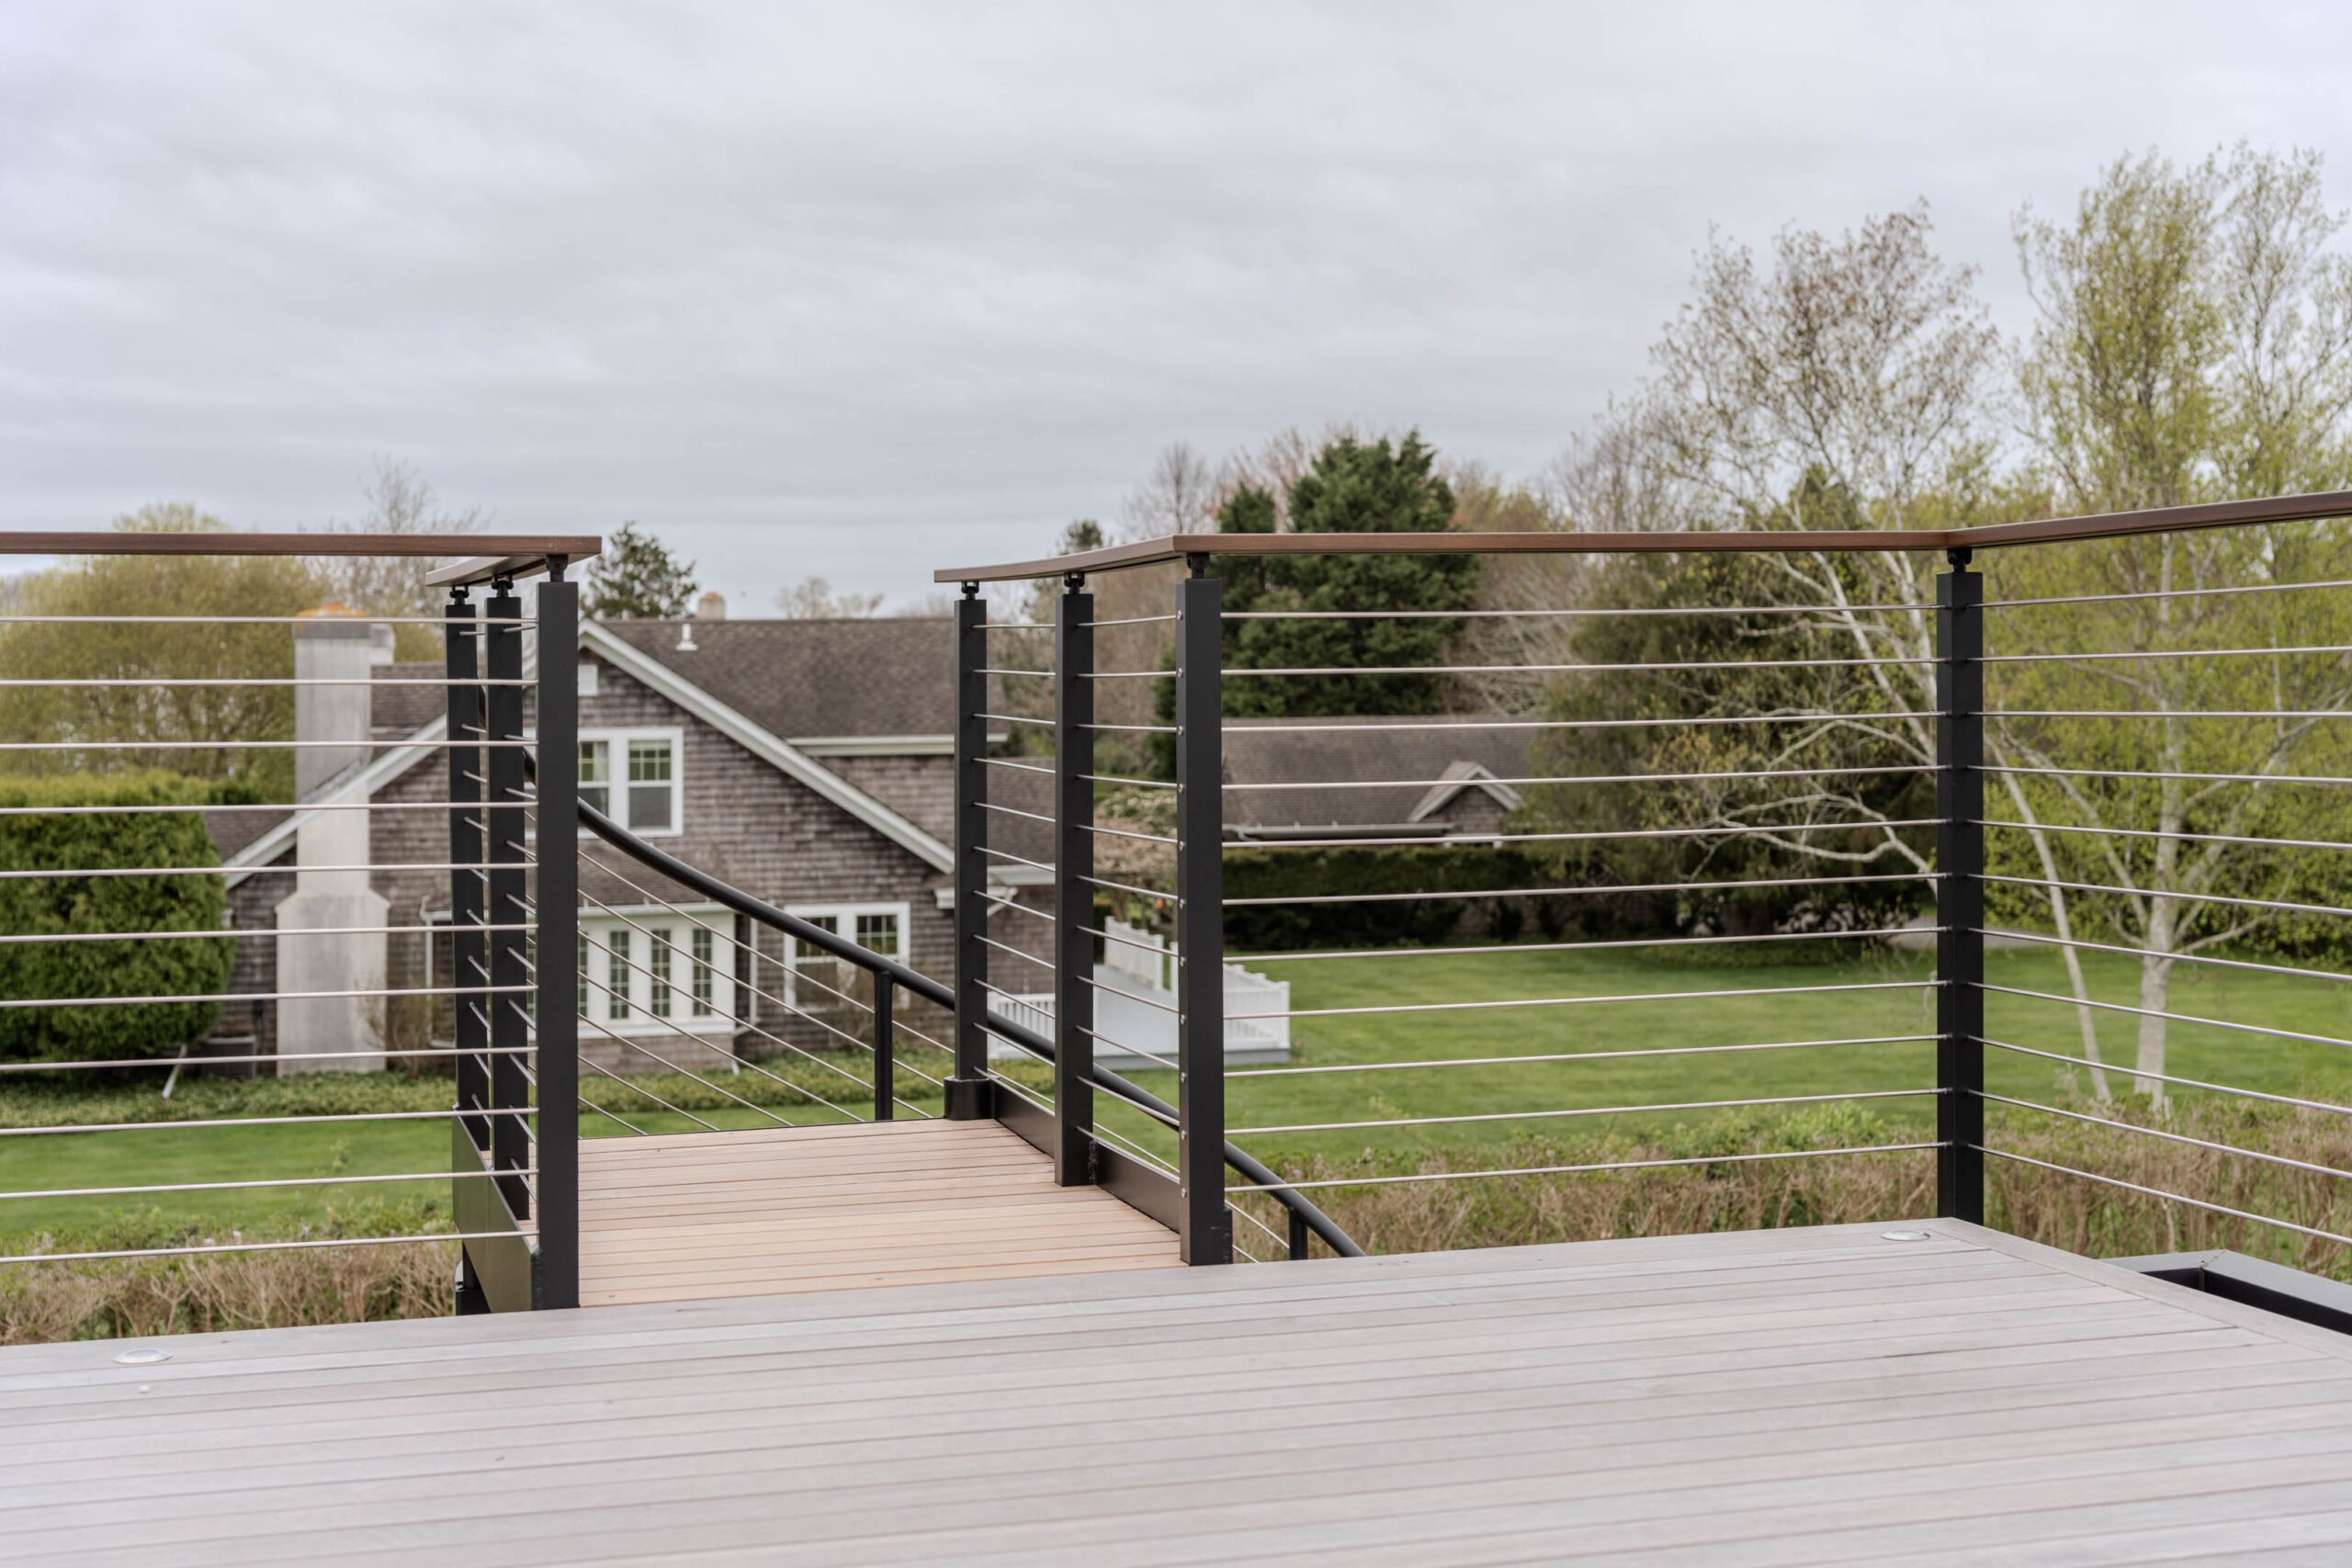
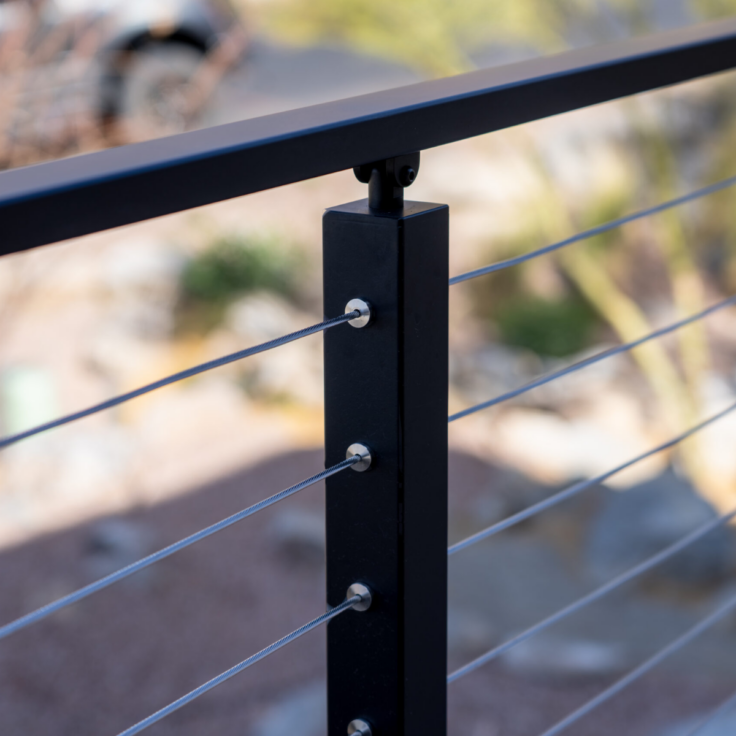
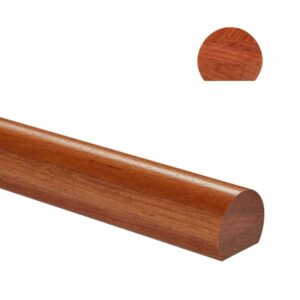
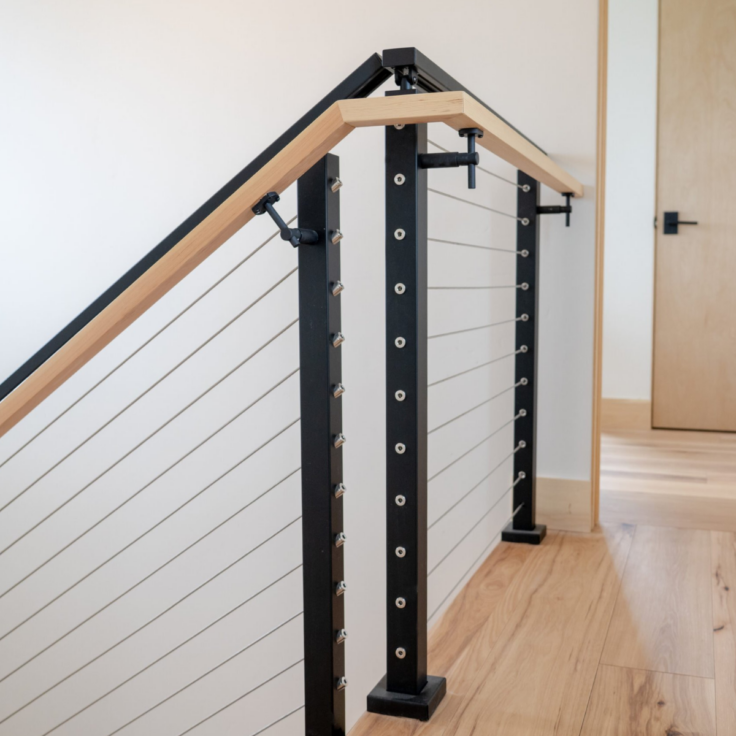
Stainless Cable
Premium cable infill
Straight runs
Not coastal-rated
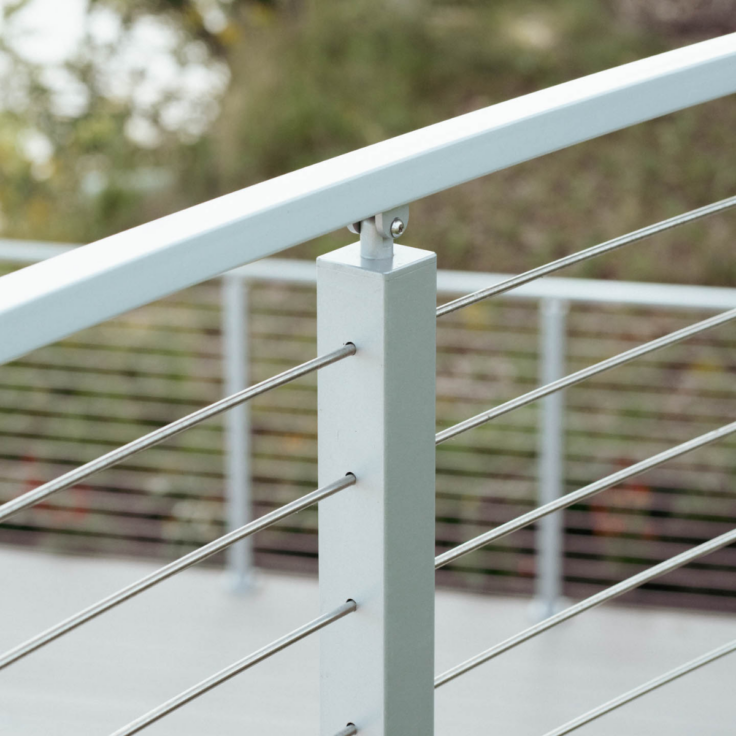
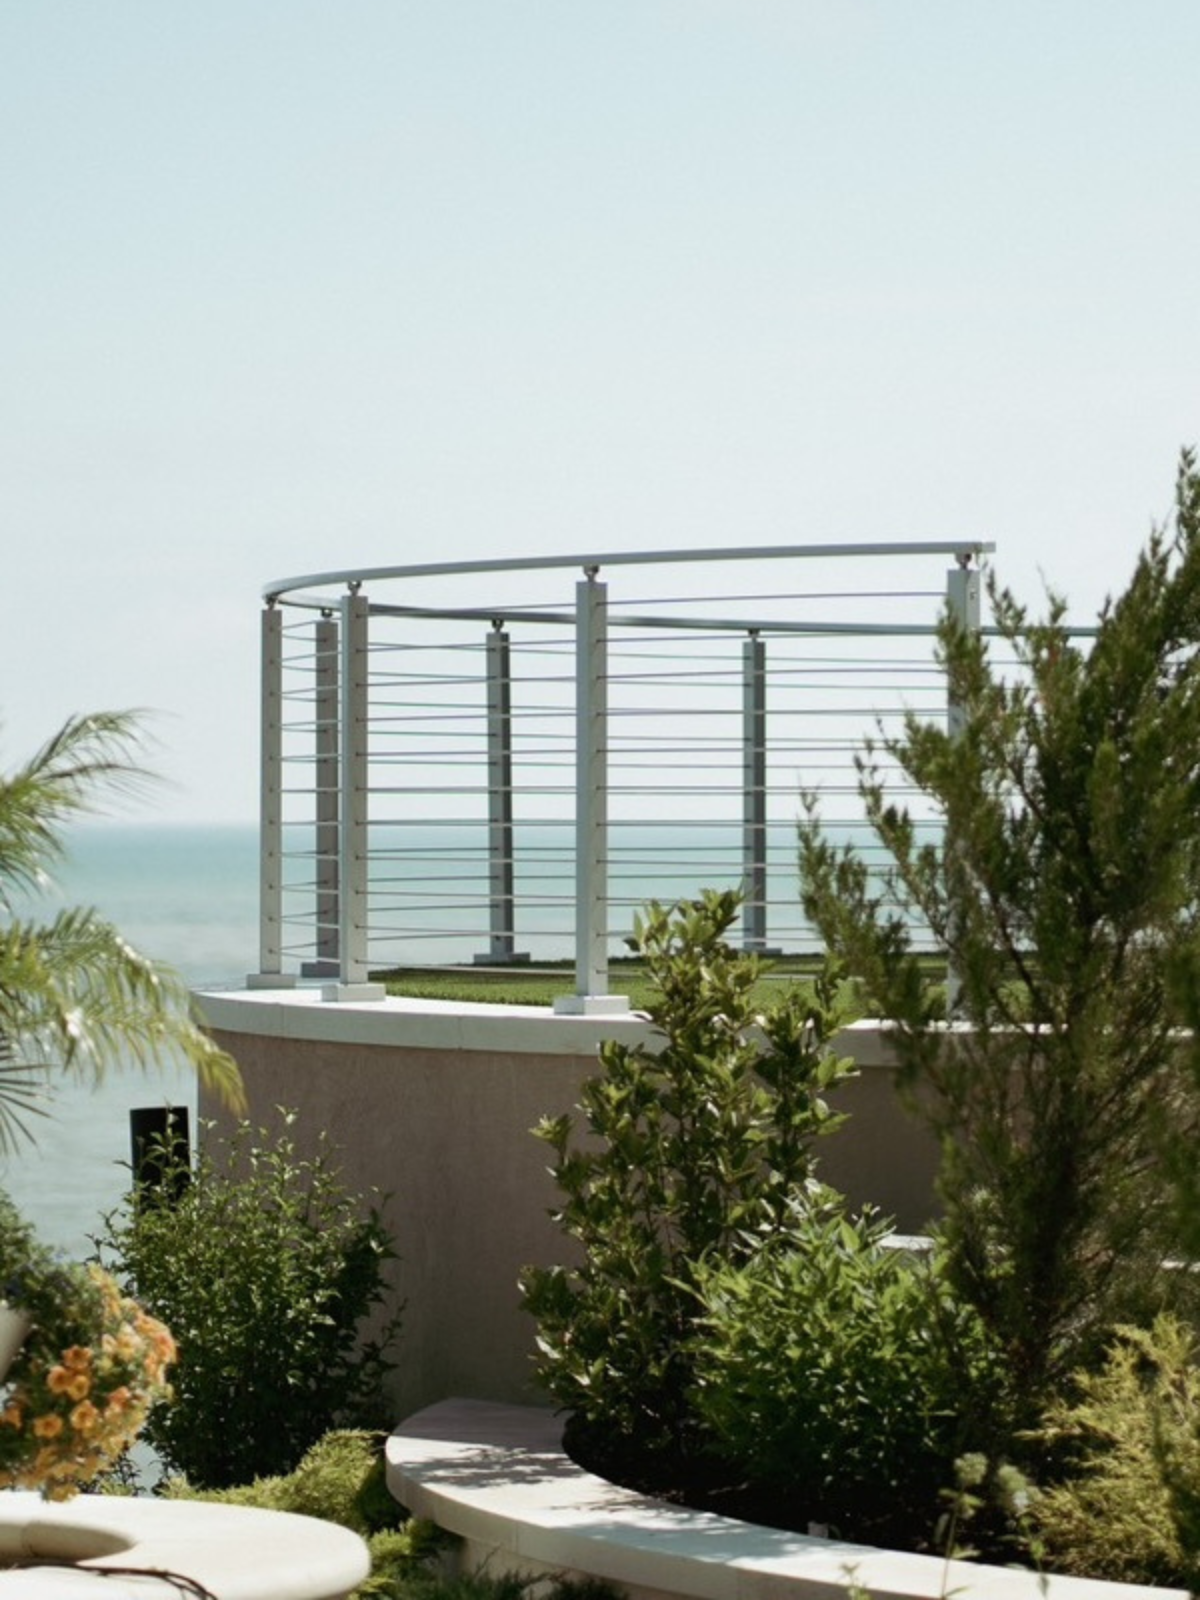
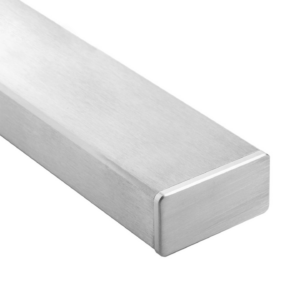
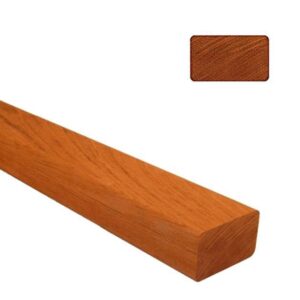
Stainless Rod
1/4″ stainless steel rod
Straight or curved runs
Coastal-rated
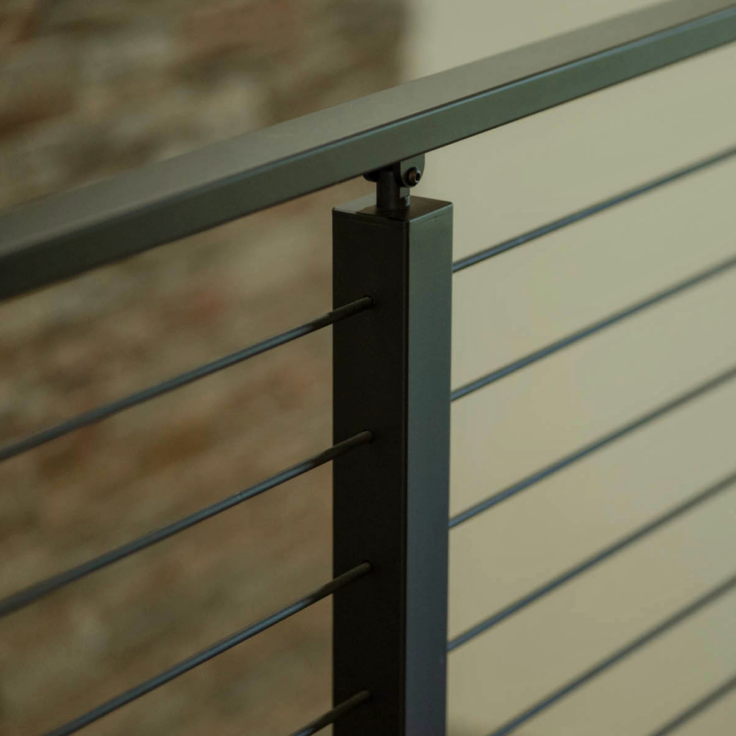
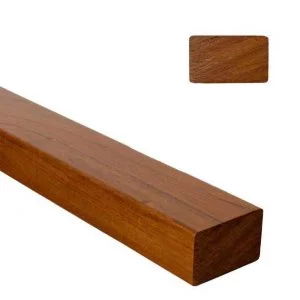
Onyx Rod
1/4″ matte black rod
Straight or curved runs
Not coastal-rated
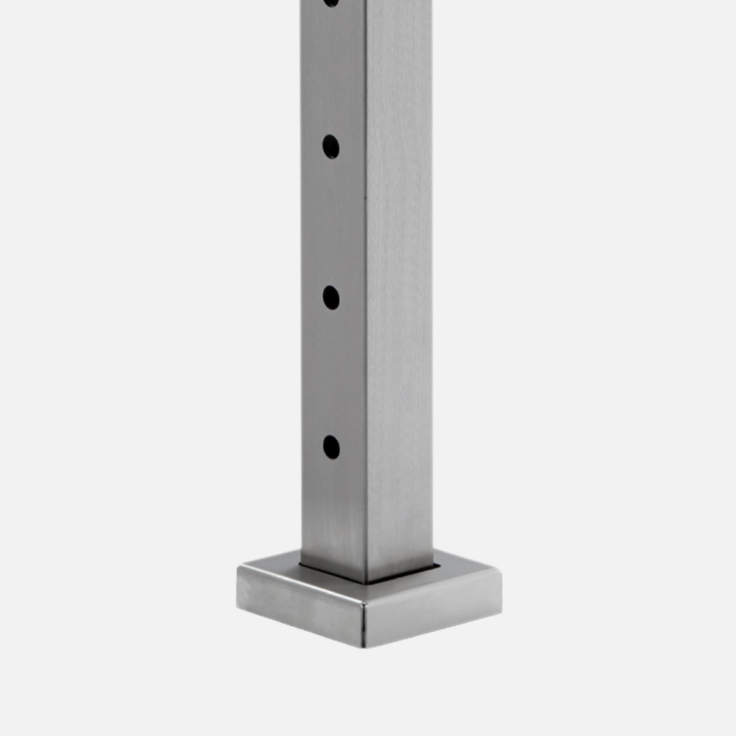
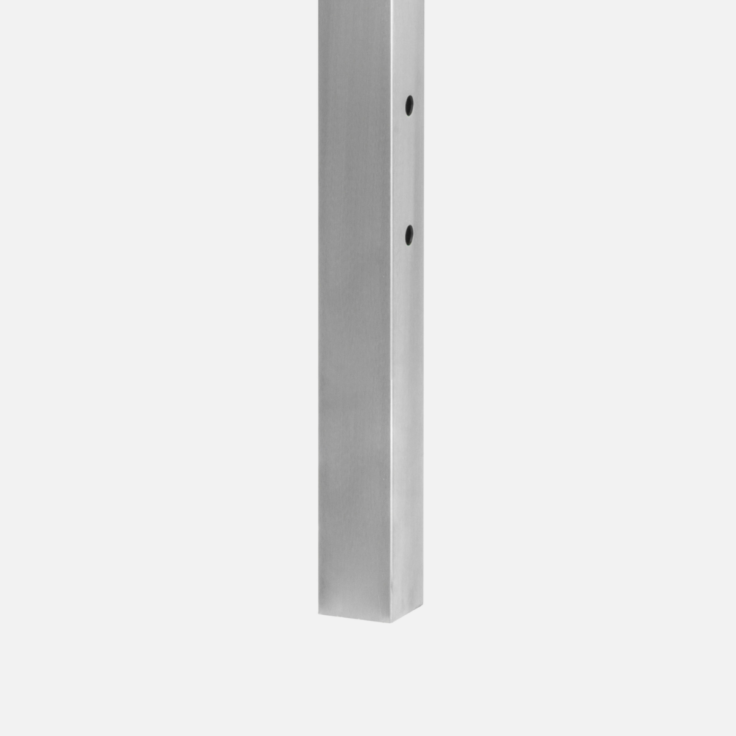
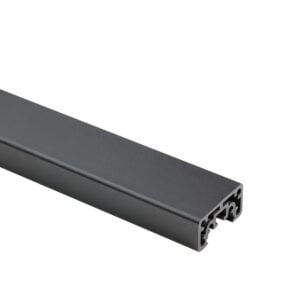
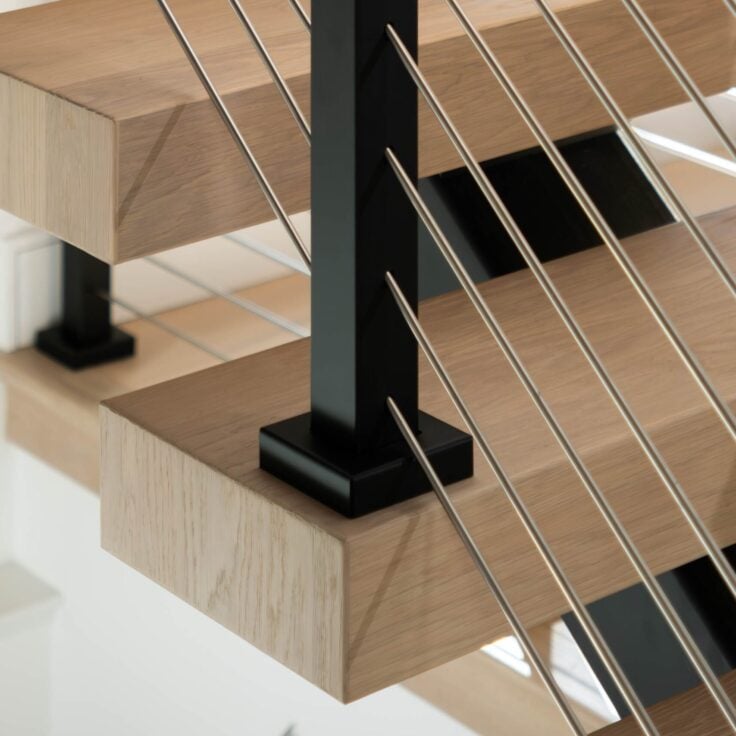
Standard Mount
Installed on top of level surfaces Also available with angled foot
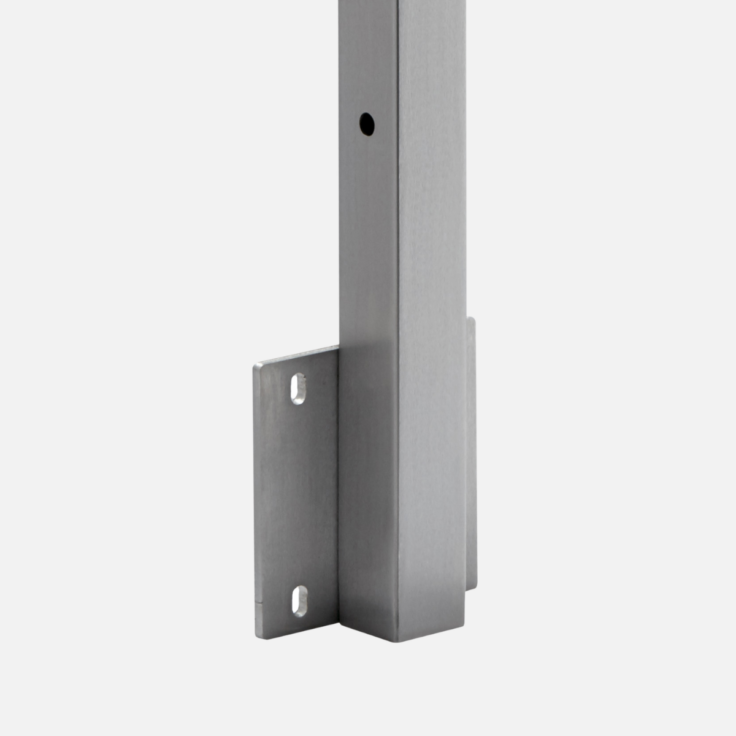
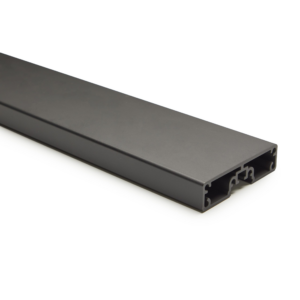
Side Mount
Installed to the fascia
without affecting waterproofing
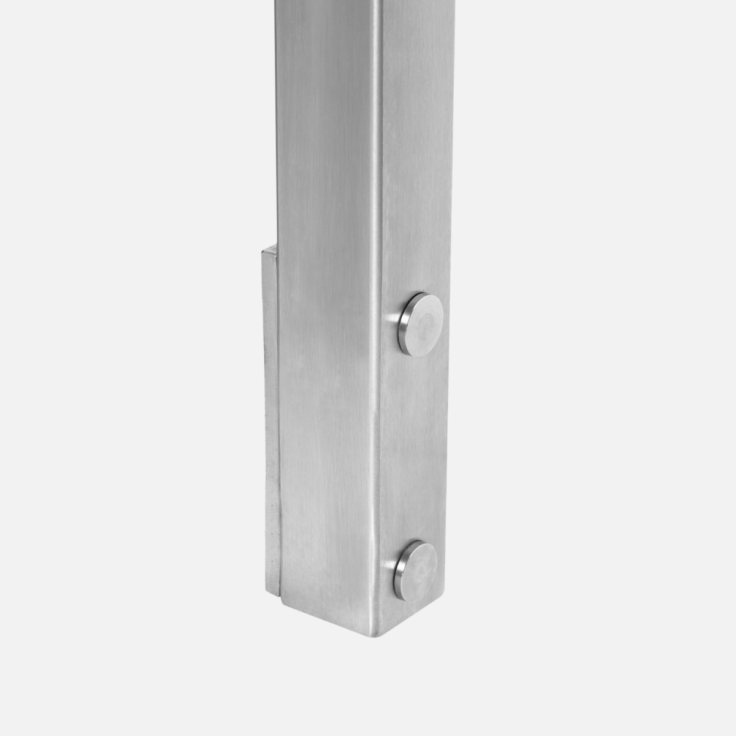
Slim Side Mount
Installed to the fascia
with a minimal bracket
Core Drill Mount
Installed into a pre-drilled hole in concrete surfaces
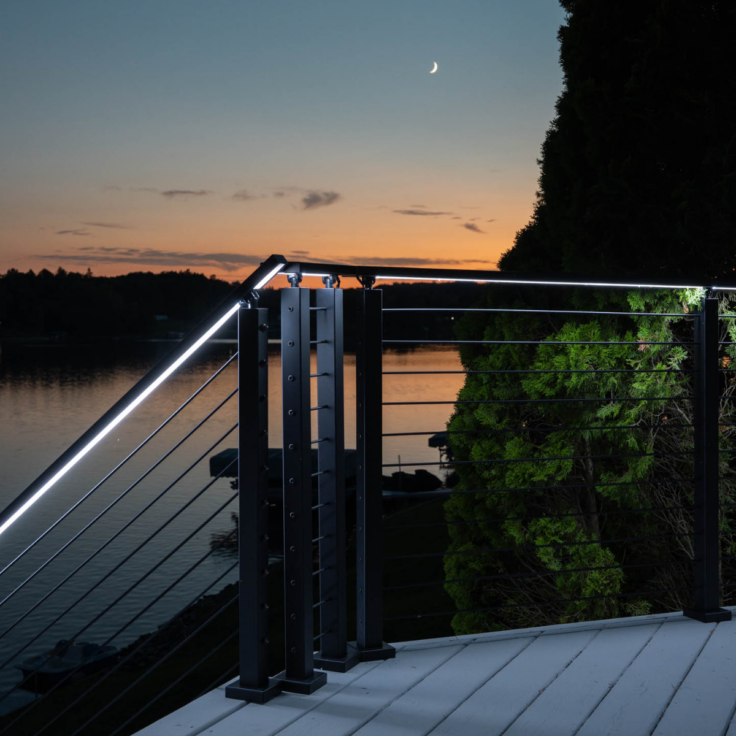
LED Lighting
LED strips integrated directly into the handrail.
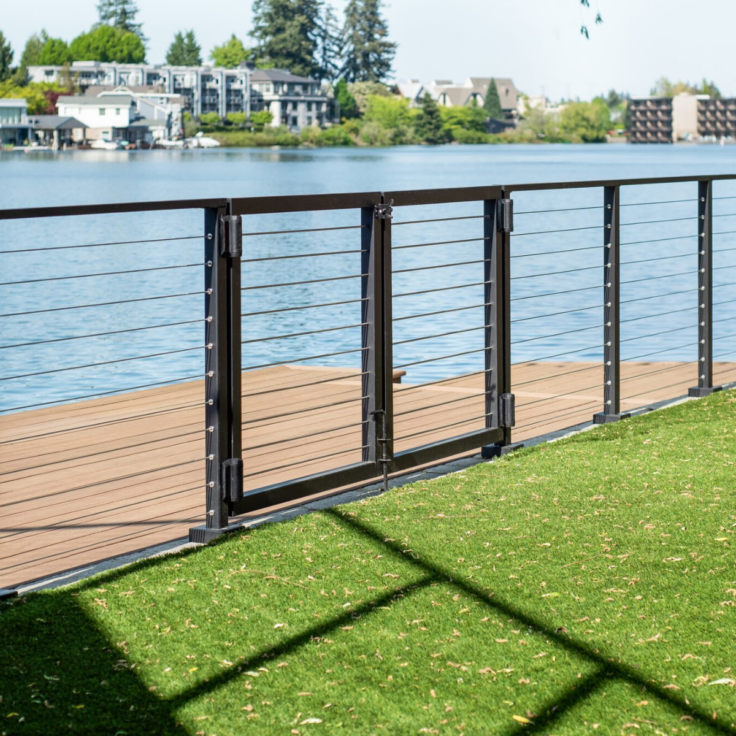
Gates
Single or double door, self-closing, keyed or magnetic latches.
Secondary Handrail
A second, graspable rail for commercial or residential use.
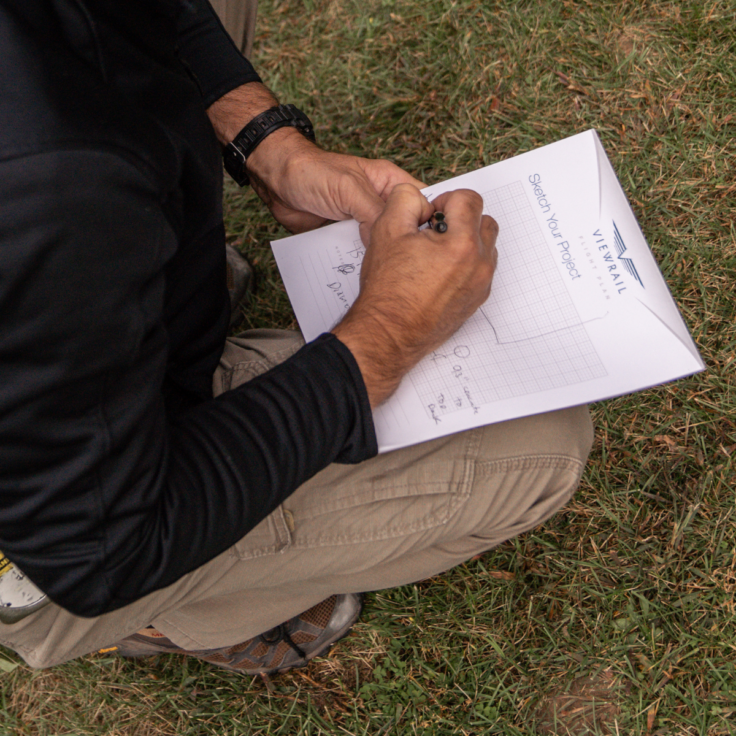
1. Assess Your Site
Spend a few minutes collecting the details:
- Length of each level run
- Length, number of steps, and angle of each stair runs
- Mounting surface, such as wood, concrete, steel, or fascia
- Grade and terrain, such as changes in elevation, slopes, or curb details
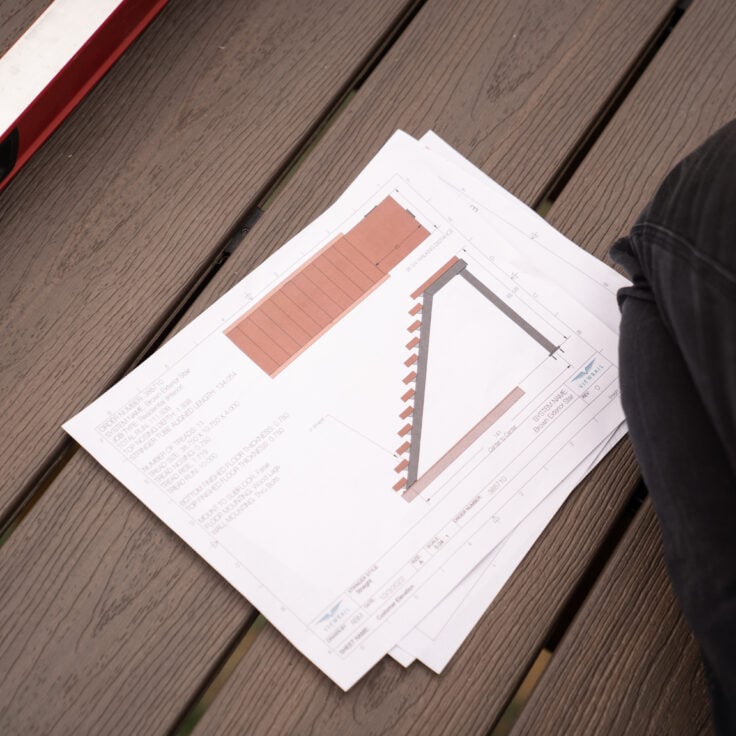
2. Gather Documentation
This could include any or all of the following:
- Hand sketches
- Photos
- CAD files
- PDFs
- Blueprints
3. Fill Out the Form
With measurements and documents in hand (or even just an idea), it's time to submit your quote request.
Fill it out with as much info as you have and we'll get back to you in one business day to walk through next steps.